Trendy Pink Nail Designs for Every Mood – Sweet, Chic & Feminine
Pink nails never go out of style. Whether you’re into soft pastels, bold fuchsias, or glittery rose gold, pink nail designs offer endless ways to express your personality. From romantic date nights to casual coffee runs, there’s a pink shade and style for every vibe.
Plus, nail styles for women have evolved so much in recent years—what used to be simple polish has transformed into true wearable art. If you love experimenting with your look or just want to keep your fingertips looking fresh and feminine, pink is the perfect color to start with. It’s versatile, flattering on all skin tones, and pairs beautifully with any outfit. Ready to dive into the sweetest, chicest nail ideas? Let’s explore everything you need to create stunning pink nail designs at home.
Table of Contents
What You’ll Need for Perfect Nail Styles
Before you start painting, gather your supplies. Having the right tools makes all the difference between a salon-worthy finish and a messy DIY disaster. You don’t need to spend a fortune, but investing in a few quality basics will elevate your results instantly. Here’s what belongs in your nail styling kit.
Basic Nail Tools
Start with the essentials. A nail file helps shape your nails smoothly—choose a glass or fine-grit file to prevent splitting. Nail clippers trim length quickly, while a cuticle pusher gently pushes back the skin around your nail bed for a cleaner canvas. You’ll also need cotton pads and nail polish remover (acetone-free is gentler) for cleanup and corrections.
A base coat is non-negotiable. It protects your natural nails from staining and helps polish adhere better. Similarly, a glossy top coat seals your design and adds shine. For pink nail designs specifically, grab at least two to three shades of pink—maybe a pale blush, a medium rose, and a hot pink for variety. Don’t forget nail brushes in different sizes for detailed work, and a dotting tool for creating perfect circles and patterns.
If you’re working with gel polish, you’ll need a UV or LED lamp to cure each layer. Gel gives you that long-lasting, chip-resistant finish that regular polish just can’t match.
Optional Nail Art Accessories
Once you’ve mastered the basics, it’s time to have fun. Rhinestones and pearls add instant glam to any pink design. Glitter polish in silver, gold, or iridescent shades creates eye-catching accents. Nail stickers and decals are perfect for beginners who want intricate designs without the fuss.
Striping tape helps you create clean lines for geometric patterns or French tips. Foil flakes give a trendy shattered-glass effect, while nail stamping kits let you transfer detailed images onto your nails with ease. Finally, keep cuticle oil handy—it nourishes your nails and makes your whole manicure look more polished.
Prepping Your Nails for Styling
Preparation is everything. Even the prettiest pink nail designs polish won’t look good on damaged, uneven nails. Start by removing any old polish completely. Next, wash your hands thoroughly to remove oils and dirt that could prevent polish from sticking.
Trim your nails to your desired length, then file them into your preferred shape—square, round, almond, or coffin. File in one direction rather than sawing back and forth to avoid weakening the nail. Push back your cuticles gently with a cuticle pusher after soaking your fingers in warm water for a few minutes. Never cut your cuticles unless absolutely necessary, as they protect your nails from infection.
Buff the surface of your nails lightly to smooth out ridges and create better adhesion. Wipe each nail with rubbing alcohol or a nail prep solution to remove any remaining oils. Finally, apply a thin layer of base coat and let it dry completely before moving on to color.
Nail Cleaning & Shaping Tips
For the cleanest results, use a small brush dipped in nail polish remover to clean up around your cuticles and sidewalls after each coat dries. This trick gives you that professional, salon-fresh look. Also, avoid filing your nails when they’re wet—they’re more prone to peeling and breaking in that state.
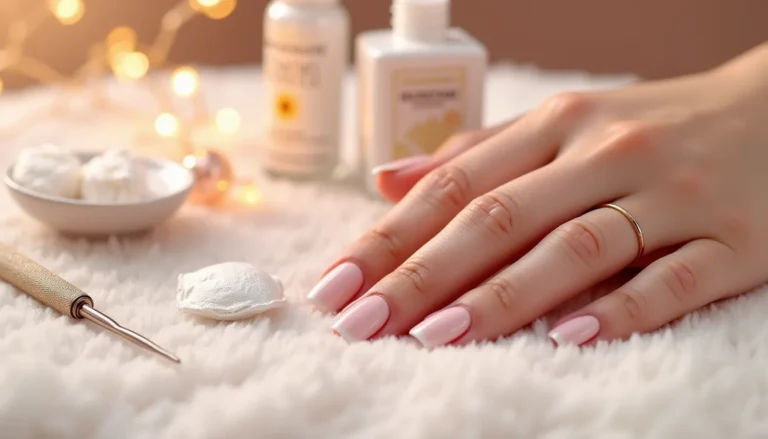
Pro tip: Keep your nails hydrated between manicures. Apply cuticle oil daily to prevent brittleness and promote healthy growth. Strong, healthy nails are the best foundation for any pink nail designs, especially delicate pink designs that look best on a smooth canvas.

Choosing the Right Nail Style
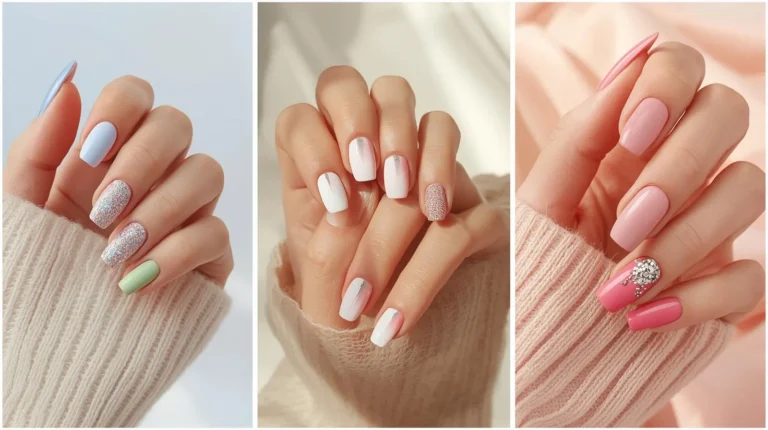
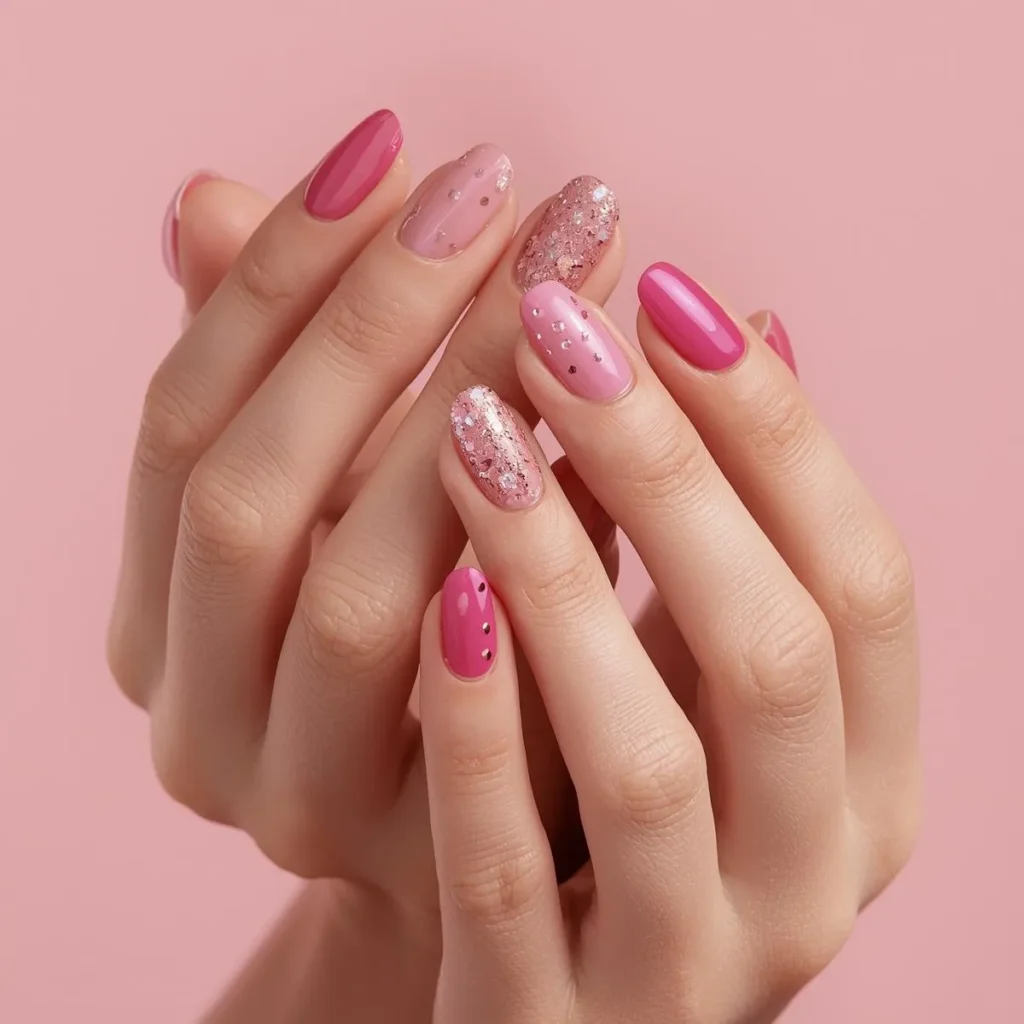
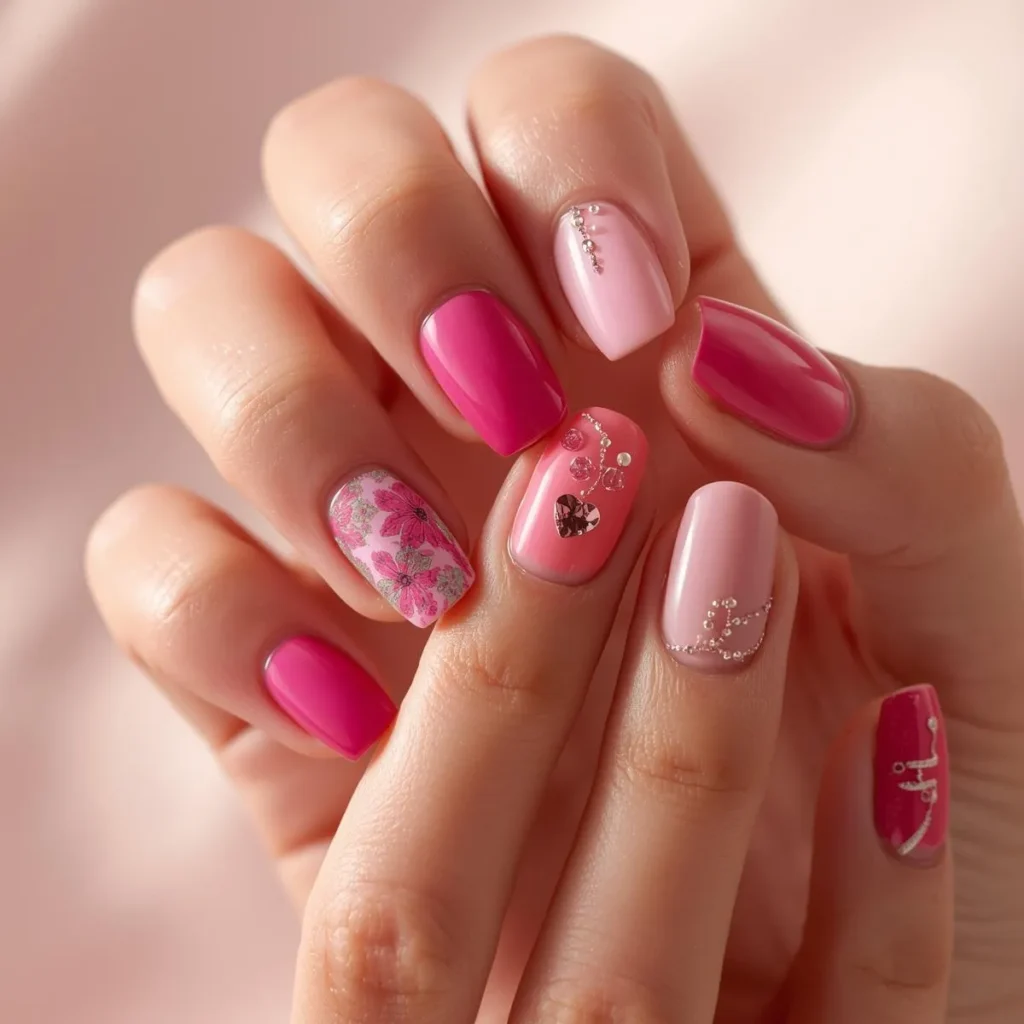
Pink nail designs come in countless variations, so think about your lifestyle, personality, and the occasion. Soft baby pink with minimal design works beautifully for professional settings or weddings. Bold hot pink with graphic elements makes a statement at parties or festivals. Dusty rose with gold accents feels elegant and timeless for any event.
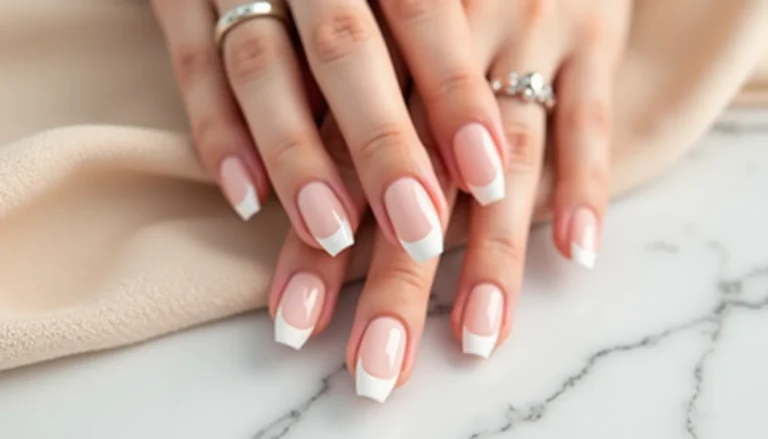
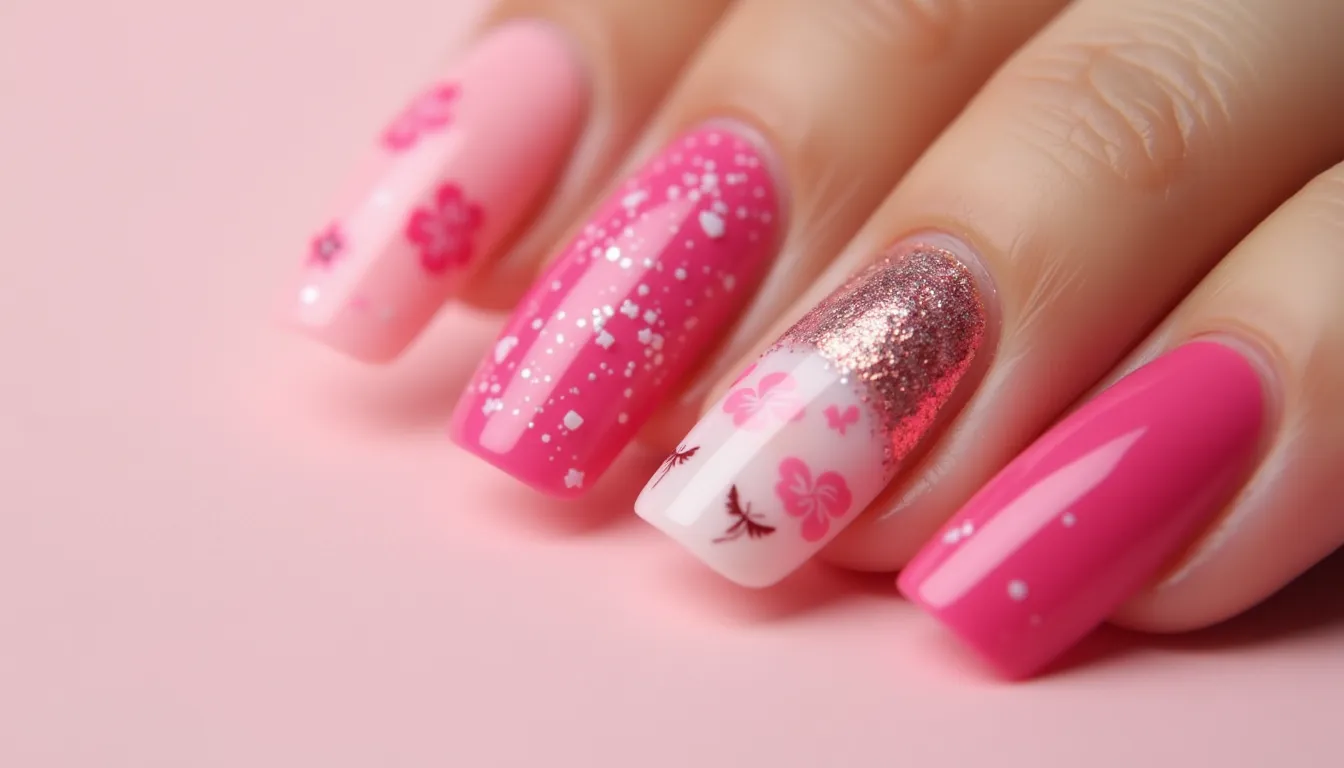
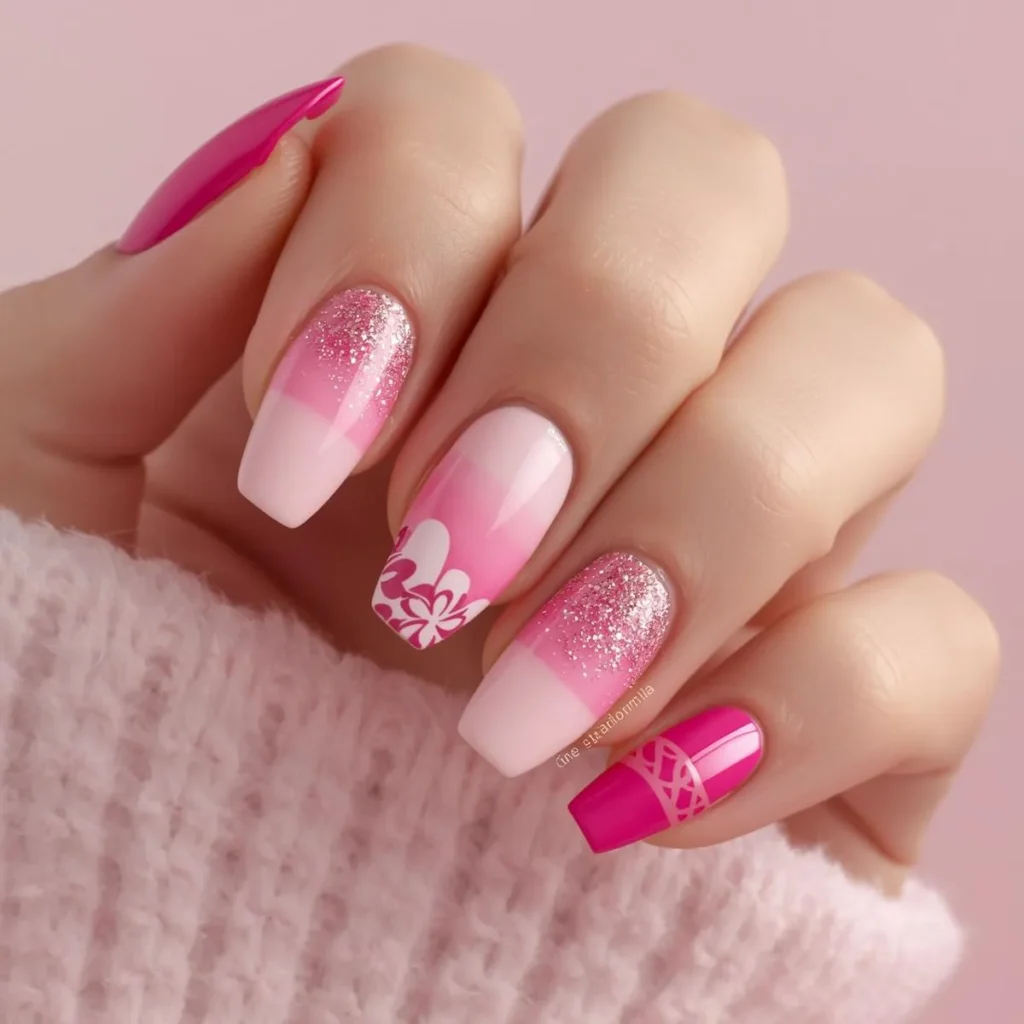
French tips are classic—try reversing them with pink nail designs tips on a nude base for a modern twist. Ombre nails blend multiple pink shades seamlessly for a dreamy gradient effect. Minimalist designs use simple lines, dots, or negative space for understated chic. Glitter accents on one or two accent nails add sparkle without overwhelming your look. Floral patterns in pink nail designs and white create a romantic, feminine vibe perfect for spring and summer.
Consider your outfit too. Cooler pinks (with blue undertones) pair well with silver jewelry and cool-toned clothing. Warmer pinks (with peachy or coral undertones) complement gold accessories and warm-colored outfits. When in doubt, a medium pink nail designs works with absolutely everything.
Trending Nail Styles for 2025
This year, glazed pink nails are everywhere—think pearly, iridescent finishes that catch the light beautifully. Chrome pink with a metallic sheen adds futuristic edge. Milky pink creates a soft, translucent look that’s effortlessly chic. Pink marble designs using white and gray swirls feel luxurious and artistic.
Micro French tips with thin pink nail designs lines are replacing traditional thick tips. Abstract pink art with random brushstrokes and shapes gives off cool-girl energy. Finally, pink cow print and pink checkered patterns bring playful retro vibes to modern nail styles for women who aren’t afraid to stand out.

Step-by-Step Nail Styling Guide
Ready to create your pink nail designs masterpiece? Follow this process for professional results every time.
First, apply a thin layer of base coat to all ten nails. Let it dry for about two minutes. Thin coats dry faster and look smoother than thick, gloopy layers.
Next, apply your first coat of pink polish. Start with a stripe down the center of your nail, then fill in the sides with curved strokes that follow your nail’s natural shape. Keep the polish away from your cuticles—leave a tiny gap for the cleanest look. Let this coat dry for three to five minutes.
Apply a second coat using the same technique. Two thin coats always look better than one thick coat. If you’re doing nail art, wait until this layer is completely dry before adding designs.
For simple designs, use your dotting tool to create polka dots in a contrasting pink nail designs shade. Use striping tape for geometric patterns, or apply rhinestones with a small dab of top coat as glue. If you’re painting details, use a thin brush and steady your hand by resting your v on a flat surface.
Finally, seal everything with a top coat. This protects your design and adds gorgeous shine. Wait at least thirty minutes before doing anything with your hands—patience prevents smudges.
Simple Nail Art Ideas for Starters
Pink and white daisies: Use a dotting tool to create five white dots in a circle for petals, then add a yellow center dot. Simple and adorable.
Glitter gradient: Apply pink nail designs polish as your base, then use a makeup sponge to dab silver or gold glitter from the tip downward, creating a fade effect.
Accent nail with pearls: Paint nine nails in solid pink, then add tiny pearls to your ring fingers in a cluster or line for instant elegance.
Pink French with a twist: Instead of white tips, use a brighter or darker shade of pink nail designs for a monochromatic French manicure that feels fresh and modern.
Tips for Perfect Results
For the steadiest application, rest your hand on a flat surface and steady your painting hand by anchoring your pinky. If you mess up, don’t panic—dip a small brush in nail polish remover and carefully clean up the mistake before it dries.
To avoid bubbles in your polish, roll the bottle between your hands instead of shaking it. Shaking creates air bubbles that transfer to your nails. Also, don’t apply polish in humid environments or over wet base coat—moisture causes peeling and chipping.
For faster drying, run your nails under cold water after they feel dry to the touch. You can also invest in a quick-dry top coat or spray, which speeds up the process significantly. Plus, waiting fifteen seconds between coats allows each layer to set properly, preventing that dreaded smudge when you think you’re done.
If your polish gets thick and gloopy over time, add a few drops of nail polish thinner (not remover) to restore its smooth consistency. This extends the life of your favorite pink nail designs shades.
Aftercare & Maintenance
Your gorgeous pink nail designs can last up to two weeks with proper care. Wear gloves when doing dishes or cleaning—water and harsh chemicals break down polish quickly. Apply cuticle oil daily to keep your nails and surrounding skin hydrated, which prevents lifting and peeling.
If you notice a chip, don’t pick at it. Instead, gently buff the area smooth and touch it up with a thin layer of matching polish, then seal with top coat. For gel manicures, apply a thin layer of top coat every three days to refresh the shine and extend wear time.
Avoid using your nails as tools—opening cans or peeling off stickers will cause chips and breaks. When removing polish, use acetone-free remover and soak cotton pads rather than rubbing aggressively, which can damage your nail surface.
Between manicures, give your nails a breather for a day or two. This allows them to strengthen naturally. During this time, apply a nourishing treatment oil or a strengthening base coat to promote healthy growth.
Conclusion
Pink nail designs offer endless possibilities to express your feminine, creative side. Whether you’re drawn to soft pastels, vibrant magentas, or glittery rose gold, there’s a perfect shade and style waiting for you to try. The beauty of nail styles for women today is that there are no rules—you can mix techniques, play with textures, and create looks that match your unique personality and mood.
Don’t be afraid to experiment at home. Start with simple designs and gradually build your skills. Remember, even professional nail artists started as beginners. With the right tools, a little practice, and these tips in your back pocket, you’ll be creating Instagram-worthy pink manicures in no time.
So grab your favorite pink polish, put on some music, and let your creativity flow. Your nails are a tiny canvas with huge potential for self-expression. Share your pink nail designs nail art creations with friends, try new trends, and most importantly—have fun with it. Happy painting, beautiful!