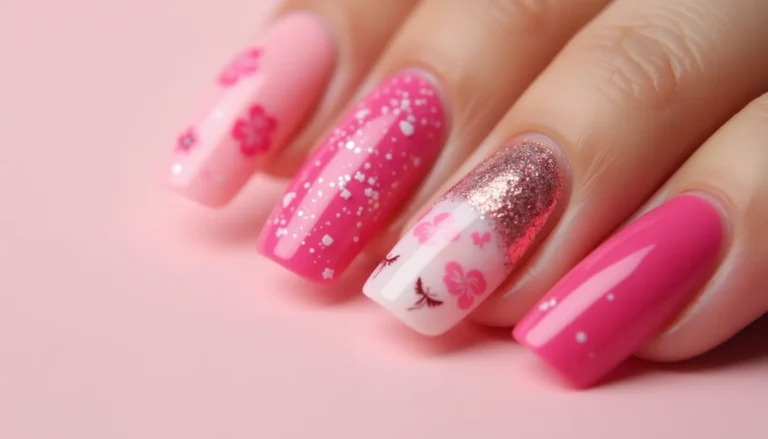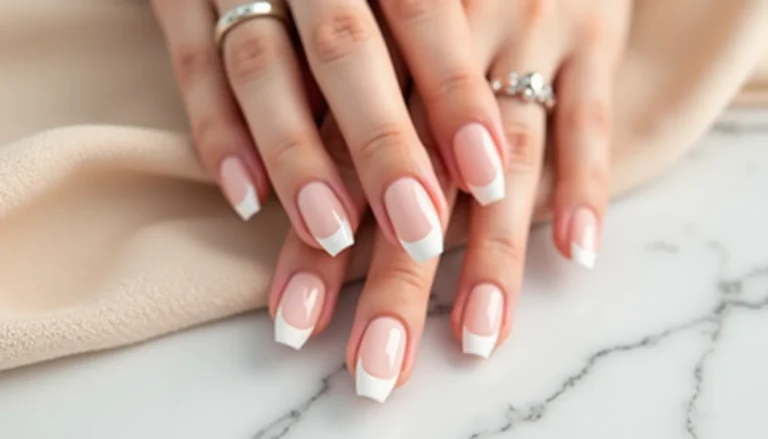
How to Remove Gel Nail Polish at Home – Easy & Safe Method
Learning how to remove gel nail polish at home is an essential skill for anyone who loves gel manicures but wants to save time and money between salon visits. While gel polish is known for its long-lasting shine and chip-resistant finish, removing it properly is crucial to maintaining healthy, strong nails. Improper removal can lead to peeling, thinning, and damage that takes weeks to repair.
Many people make the mistake of peeling or picking at their gel polish when it starts to lift, which strips away layers of the natural nail and causes significant damage. The good news is that knowing how to remove gel nail polish safely at home is surprisingly simple when you have the right tools and follow the correct steps. This guide will walk you through the entire process, from gathering your supplies to caring for your nails afterward.
By mastering the proper gel removal technique, you’ll protect your nail health while enjoying the flexibility of doing your own nail care at home. Whether you’re preparing for a new manicure or giving your nails a much-needed break, this method ensures safe, effective removal without the damage.
Table of Contents
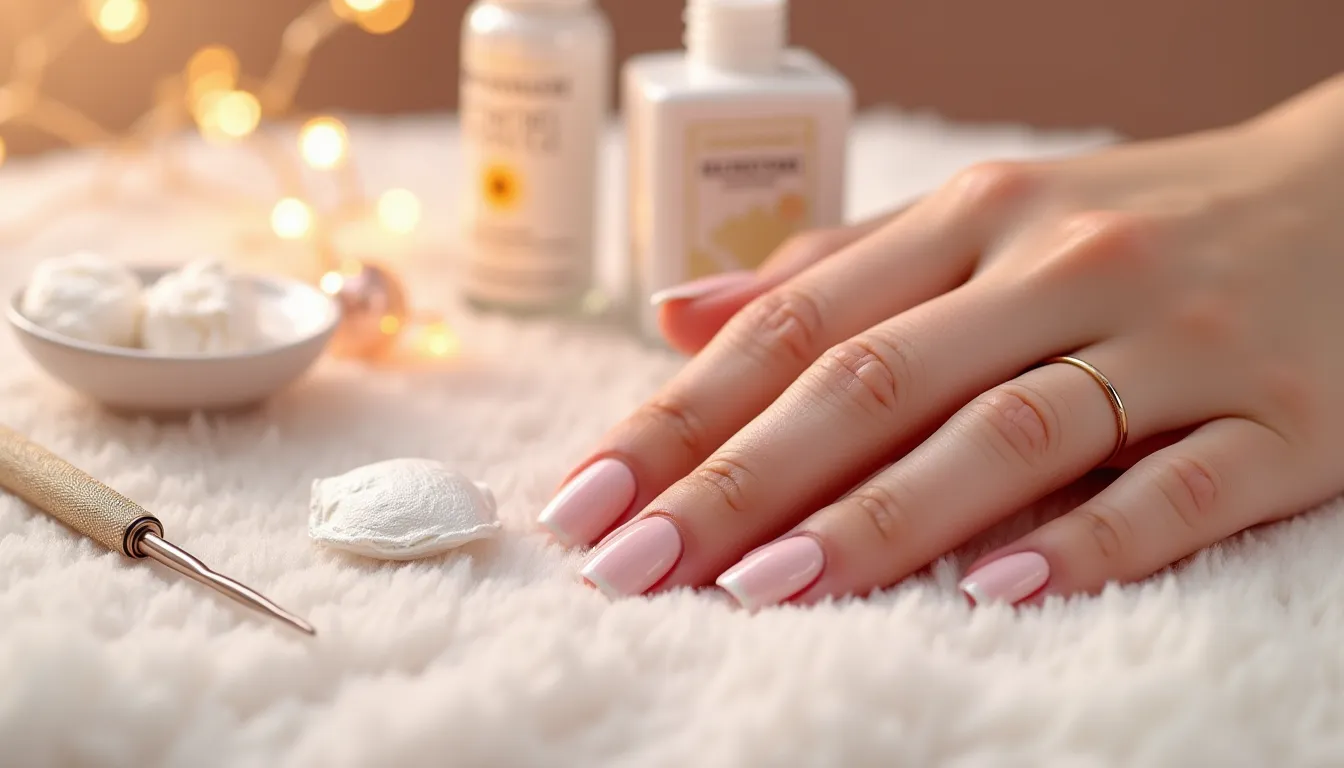
Tools You’ll Need how to remove gel nail polish
Having the right supplies makes learning how to remove gel nail polish much easier and ensures you won’t damage your nails during the process. Most of these items are affordable and readily available at drugstores or beauty supply stores.
Essential supplies include:
- Pure acetone (not regular nail polish remover)
- Cotton balls or pads
- Aluminum foil cut into 10 small squares
- Nail file (180-grit or coarser)
- Cuticle pusher or orange wood stick
- Nail buffer block
- Small bowl (if using the soaking method)
Optional but helpful items:
- Cuticle oil or vitamin E oil
- Hand cream or moisturizer
- Nail strengthening treatment
- Petroleum jelly for protecting skin
The most important tool is pure acetone, as regular how to remove gel nail polish won’t effectively break down gel polish. Don’t skip this essential ingredient, as it’s the key to successful gel removal.

Basic Tools for Gel Polish Removal
Understanding why each tool is necessary helps you use them properly when learning how to remove gel nail polish without causing damage.
Acetone is the solvent that breaks down the gel polish formula, allowing it to lift from the nail plate. Pure acetone works faster and more effectively than diluted versions, though it can be drying to skin and nails.
Cotton balls or pads hold the acetone against your nails during the soaking process. Cut them into pieces that fit your nail size to avoid wasting product and minimize skin exposure to acetone.
Aluminum foil wraps around each finger to seal in the acetone-soaked cotton, creating a contained environment that speeds up the breakdown process. The foil keeps the acetone from evaporating and maintains contact with the gel polish.
A nail file breaks the seal of the gel’s shiny top coat, allowing acetone to penetrate the layers beneath. Without filing first, the acetone can’t effectively reach the gel polish to dissolve it.
A cuticle pusher or orange stick gently how to remove gel nail polish softened gel polish from the nail surface once the acetone has done its work. These tools prevent you from scraping too aggressively and damaging your natural nails.
A nail buffer smooths the nail surface after removal, eliminating any rough patches or remaining gel residue. This creates a clean canvas for your next manicure or allows nails to look polished without polish.

Optional Tools for Comfort and Care
While not strictly necessary for gel removal, these additional items make the process more comfortable and help protect your nail health.
Cuticle oil applied before wrapping your nails creates a protective barrier between the acetone and your cuticles. This prevents excessive drying and irritation around the nail bed. Reapply generously after removal to restore moisture.
Petroleum jelly dabbed around the cuticles and on the skin surrounding your nails protects against acetone’s drying effects. This simple step significantly reduces redness and irritation, especially if you have sensitive skin.
Hand cream or moisturizer is essential for aftercare. Acetone strips moisture from both nails and skin, so intensive hydration afterward helps restore the natural moisture barrier and prevents dryness.
Nail strengthening treatments containing ingredients like keratin, biotin, or calcium help rebuild nail strength after gel removal. Apply these treatments in the days following removal to promote healthy nail growth.
Step-by-Step Guide on How to Remove Gel Nail Polish
Follow these detailed instructions to safely and effectively how to remove gel nail polish at home without damaging your natural nails.
Step 1: File the Top Coat Begin by gently filing the shiny top layer of your gel manicure with a coarse nail file (180-grit or rougher). File in one direction across the entire nail surface until the shine is completely gone and the surface appears matte. This crucial step breaks the seal of the protective top coat, allowing acetone to penetrate the gel layers beneath. Don’t file aggressively or press too hard—you’re just removing the glossy finish, not filing down to your natural nail.
Step 2: Protect Your Skin Apply a thin layer of petroleum jelly or cuticle oil around each nail, coating the cuticles and surrounding skin. This protective barrier minimizes acetone exposure to delicate skin and prevents excessive drying and irritation during the soaking process.
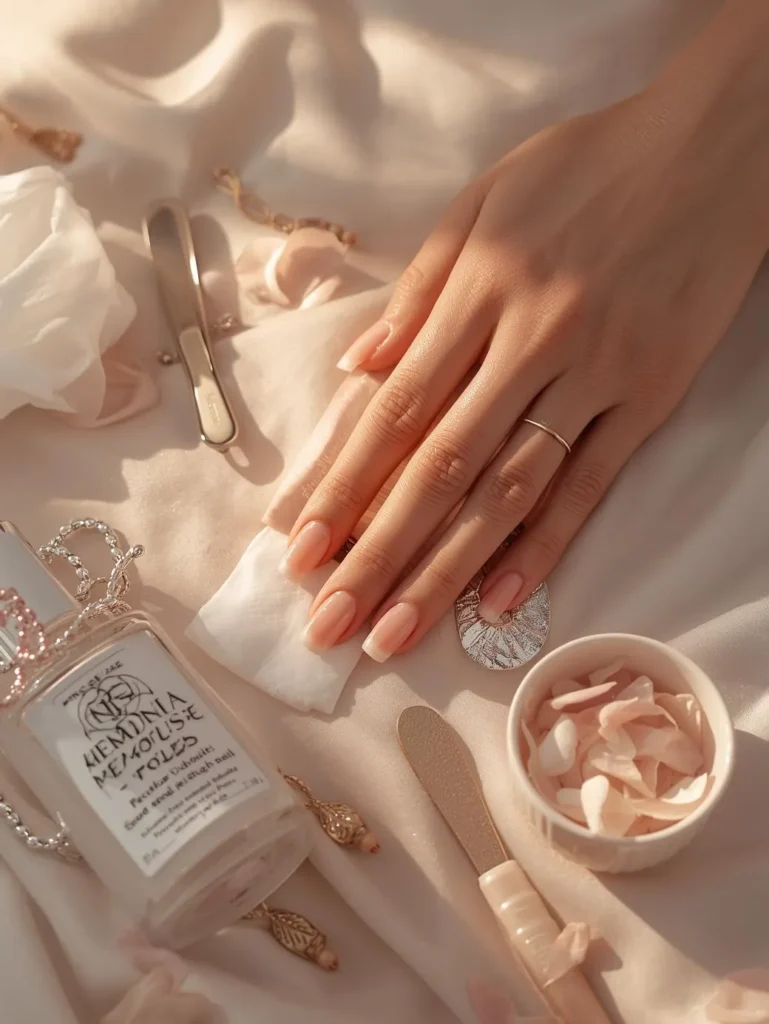
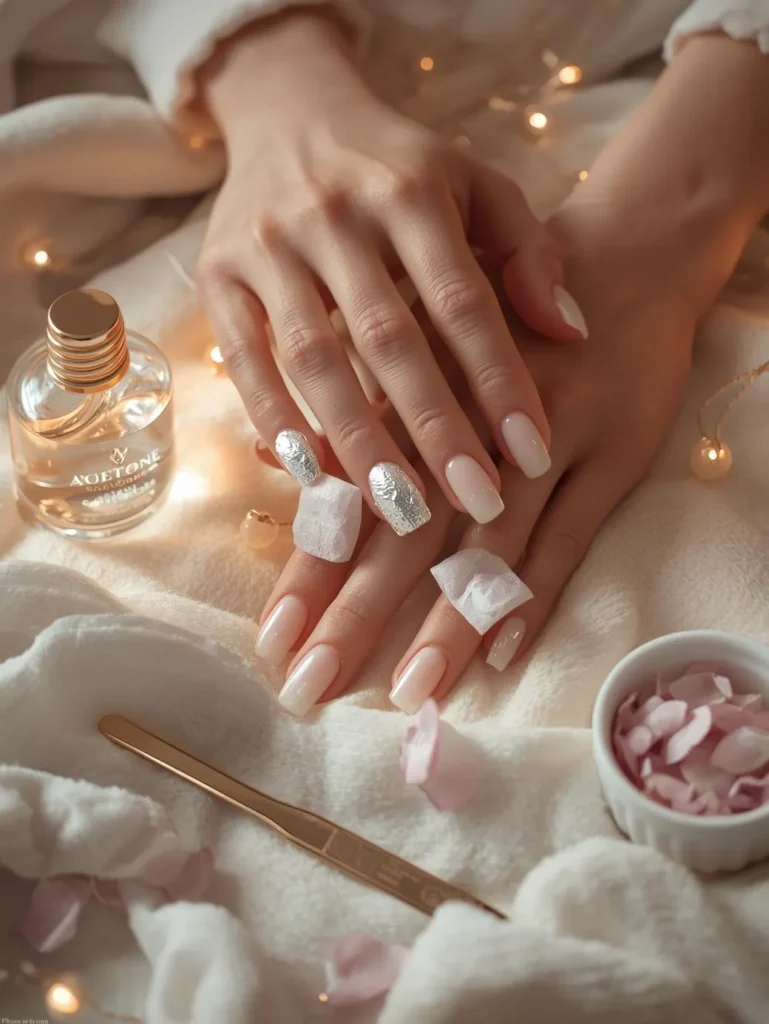
Step 3: Prepare Cotton and Acetone Cut cotton balls into small pieces that fit comfortably on your nail surface. Pour pure acetone into a small bowl or dish. Soak each cotton piece thoroughly in the acetone—it should be saturated but not dripping excessively.
Step 4: Apply Cotton to Nails Place one acetone-soaked cotton piece directly on top of each nail, ensuring complete coverage of the gel polish. Press gently so the cotton adheres to the nail surface and makes full contact with the filed gel.
Step 5: Wrap in Aluminum Foil Take a small square of aluminum foil and wrap it tightly around your fingertip, securing the cotton piece against your nail. The foil should be snug enough to hold everything in place but not so tight that it cuts off circulation. Repeat this process on all ten fingers.
Step 6: Wait Patiently Allow the acetone to work its magic for 10-15 minutes. Don’t rush this step—proper soaking time is essential for the acetone to fully break down the gel polish. You might feel slight tingling, which is normal, but if you experience burning or significant discomfort, how to remove gel nail polish the wraps immediately.
Step 7: Check and Remove After 10-15 minutes, remove the foil from one nail and gently test the gel with your cuticle pusher. If the gel polish looks wrinkled, softened, and lifts easily, proceed with removal. If it’s still firmly attached, rewrap that nail and wait another 5 minutes.
Step 8: Gently Push Off Gel Using your cuticle pusher or orange stick, gently push the softened gel polish off your nail, working from the cuticle toward the free edge. The gel should slide off with minimal pressure. If you encounter resistance, don’t force it—rewrap and soak longer. Never scrape aggressively, as this damages the nail plate.
Step 9: Remove Remaining Residue If small amounts of gel remain, gently buff them away with a fine-grit buffer or nail file. Work carefully and lightly—you’re removing residue, not layers of your natural nail. Alternatively, apply more acetone with a cotton pad and gently wipe away stubborn spots.
Step 10: Buff and Smooth Once all gel is how to remove gel nail polish , use a gentle buffer block to smooth the nail surface and remove any rough patches. Buff lightly in one direction, creating a smooth, even surface. Don’t over-buff, which can thin and weaken nails.
Tips for Safe Gel Nail Polish Removal
Following these expert tips ensures you master how to remove gel nail polish without causing damage or weakening your natural nails.
Don’t skip the filing step. Many people try to soak gel polish without breaking the top coat seal first, resulting in ineffective removal and wasted time. Filing the surface is essential for acetone penetration.
Use pure acetone, not regular remover. Regular how to remove gel nail polish lacks the strength to break down gel formulas effectively. Pure acetone is necessary for proper gel removal, though it’s more drying to skin.
Be patient with soaking time. Rushing the process and trying to how to remove gel nail polish gel before it’s fully softened leads to aggressive scraping that damages nails. Wait the full 10-15 minutes, adding extra time if needed.
Never peel or pull gel polish. If gel starts lifting on its own, resist the temptation to peel it off. This how to remove gel nail polish layers of your natural nail, causing thinning, weakness, and peeling that takes months to grow out.
Apply gentle pressure only. When pushing off softened gel, use light pressure with your cuticle stick. If the gel doesn’t slide off easily, it needs more soaking time rather than more pressure.
Moisturize immediately and frequently. Acetone is extremely drying, so apply cuticle oil and hand cream immediately after removal. Continue moisturizing several times daily for the next few days to restore hydration.
Give nails occasional breaks. While it’s tempting to immediately apply new gel polish, giving your nails a week or two between gel manicures allows them to recover, breathe, and regain strength.
Common Mistakes to Avoid When Removing Gel Polish
Understanding common errors helps you avoid them when learning how to remove gel nail polish safely and effectively.
Peeling or picking at lifting gel polish is the number one mistake people make. When gel starts to lift at the edges, it’s incredibly tempting to pick it off, but this how to remove gel nail polish layers of your natural nail along with the polish. The damage can take months to grow out and leaves nails thin, weak, and prone to breaking.
Using regular nail polish remover instead of acetone is ineffective and frustrating. Regular how to remove gel nail polish can’t break down gel formulas, so you’ll waste time and cotton without achieving removal. Always use pure acetone specifically designed for gel removal.
Skipping the filing step and trying to soak gel with the top coat intact significantly reduces acetone’s effectiveness. The protective top coat is designed to seal and protect the gel, preventing acetone penetration. Breaking this seal by filing is absolutely necessary.
Wrapping foil too loosely allows acetone to evaporate and cotton to shift away from the nail, reducing contact time and effectiveness. Secure the foil snugly around each finger to maintain consistent pressure and prevent evaporation.
Removing wraps too early and attempting to scrape off gel that hasn’t fully softened causes nail damage. If gel isn’t sliding off with minimal pressure, it needs more soaking time. Be patient and rewrap as needed.
Scraping too aggressively with metal tools damages the nail plate’s surface, creating grooves, thinning, and weakness. Always use gentle pressure and wood or rubber tools rather than metal implements when possible.
Not moisturizing after removal leaves nails and cuticles extremely dry and vulnerable. Acetone strips all moisture, so intensive hydration immediately after removal is essential for preventing damage and brittleness.
Applying new gel immediately without allowing recovery time doesn’t give nails a chance to regain strength and health. Occasional breaks between gel manicures promote long-term nail health and prevent cumulative damage.
Aftercare for Nails Post Gel Removal
Proper aftercare is just as important as knowing how to remove gel nail polish correctly. Your nails need intensive care following acetone exposure and gel removal.
Intensive Moisturizing: Apply cuticle oil generously to all nails and cuticles immediately after removal. Massage the oil into nails, cuticles, and surrounding skin to promote absorption. Follow with a rich hand cream, paying special attention to the nail area. Repeat this moisturizing routine at least 2-3 times daily for the next week.
Nail Strengthening Treatments: Use nail strengthening products containing keratin, biotin, calcium, or protein to help rebuild nail structure. Apply these treatments according to product instructions, typically once or twice daily. Continue using strengtheners for at least two weeks after gel removal to see improvement.
Gentle Nail Care: Keep nails trimmed to a manageable length to prevent breakage while they recover. File nails gently in one direction using a fine-grit file. Avoid using nails as tools to open cans or scratch surfaces, which can cause breaks and splits in weakened nails.
Hydration from Within: Drink plenty of water and maintain a balanced diet rich in biotin, protein, and omega-3 fatty acids. Healthy nails start from the inside, and proper nutrition supports strong nail growth.
Consider a Recovery Period: If possible, give your nails 1-2 weeks without polish to allow them to breathe and recover fully. During this time, focus on moisturizing and strengthening treatments. If you must wear polish, opt for regular nail lacquer rather than gel to give nails a lighter alternative.
Protect Your Nails: Wear gloves when doing dishes, cleaning, or any activities involving water or chemicals. Excessive water exposure weakens nails and undoes your moisturizing efforts. Protect nails from harsh conditions while they rebuild strength.
Watch for Warning Signs: Monitor your nails for signs of damage like excessive peeling, unusual brittleness, or discoloration. If you notice significant damage, consult a dermatologist or nail professional for guidance on proper recovery treatments.
Maintain Regular Care: Even after the initial recovery period, maintain a consistent nail care routine with regular moisturizing, gentle filing, and periodic strengthening treatments. This ongoing care keeps nails healthy and better prepared for future gel manicures.
Frequently Asked Questions About Gel Polish Removal
Can I use regular nail polish remover to how to remove gel nail polish ? No, regular nail polish remover isn’t strong enough to effectively break down gel formulas. You must use pure acetone for successful gel removal. Regular how to remove gel nail polish will waste your time and materials without achieving results.
How often should I take breaks between gel manicures? Ideally, take a break of at least one week every 2-3 gel applications to allow nails to recover and breathe. If you notice thinning, weakness, or peeling, extend this break to 2-3 weeks or longer until nails regain their strength.
Is it safe to remove gel polish while pregnant? While acetone exposure should generally be minimized during pregnancy, occasional use in well-ventilated areas is typically considered safe. However, consult your healthcare provider for personalized advice. Consider having gel how to remove gel nail polish professionally or waiting until after pregnancy if you have concerns.
Why are my nails weak and peeling after gel removal? Weak, peeling nails usually result from improper removal (peeling or excessive scraping), too-frequent gel applications without breaks, or insufficient moisturizing. Focus on intensive hydration, strengthening treatments, and giving nails adequate recovery time between manicures.
Can I file off gel polish instead of soaking? While it’s possible to file off gel polish completely, this method requires extreme care and skill to avoid over-filing and damaging the natural nail. Soaking with acetone is safer, more effective, and recommended for at-home removal by most nail professionals.
Conclusion
Mastering how to remove gel nail polish at home empowers you to maintain healthy nails while enjoying the benefits of beautiful gel manicures. By following the proper steps—filing the top coat, soaking with pure acetone, gently removing softened gel, and providing intensive aftercare—you can safely how to remove gel nail polish without the damage that comes from improper techniques.
Remember that patience is key when learning how to remove gel nail polish correctly. Never rush the soaking process or force gel off before it’s ready, as these shortcuts lead to nail damage that takes weeks or months to repair. Invest a little extra time in proper removal, and your nails will thank you with continued strength and health.
The most important takeaway is to never peel or pick at gel polish, no matter how tempting it may be. This single action causes more nail damage than any other removal mistake. Instead, gather your supplies, follow these step-by-step instructions, and take the time to how to remove gel nail polish gel properly. Your nails will remain strong, healthy, and ready for your next beautiful manicure. With practice, you’ll find that knowing how to remove gel nail polish at home is an easy, cost-effective skill that protects your nail health for years to come.
how to remove gel nail polish