Coffin Nail Designs – Trendy, Chic & Modern Styles
Coffin nail designs have taken the beauty world by storm, becoming one of the most requested nail shapes in salons worldwide. Named for their resemblance to a coffin or ballerina slipper, these nails feature a distinctive tapered shape with a squared-off tip that creates an elongated, elegant silhouette. The unique structure of coffin nails provides the perfect canvas for stunning nail art, from minimalist designs to elaborate, eye-catching creations.
What makes coffin nail designs so irresistibly popular? This shape combines the best of both worlds—the sleekness of stiletto nails with the practicality of square tips. The elongated appearance flatters all finger shapes and lengths, creating the illusion of longer, more slender fingers. Coffin nail designs work beautifully with any style aesthetic, whether you prefer understated nude shades, bold dramatic colors, or intricate artistic patterns. From celebrities on red carpets to fashion influencers on social media, coffin nails have become synonymous with glamour, confidence, and contemporary style. As we explore the world of coffin nail designs, you’ll discover endless possibilities for expressing your personality through this stunning nail shape.
Table of Contents
Must-Have Tools for Coffin Nail Designs
Creating beautiful coffin nail designs requires specific tools and supplies tailored to achieving and maintaining this distinctive shape. Whether you’re working with natural nails or extensions, having the right equipment makes the difference between amateur-looking results and professional-quality manicures. Investing in quality tools not only improves your outcomes but also makes the entire creative process more enjoyable and efficient.
Basic Supplies Needed for Coffin Nail Designs
Every stunning coffin manicure begins with essential foundation tools. A high-quality nail file is absolutely crucial for coffin nail designs—you’ll need both a coarse file for initial shaping and a fine-grit file for refining the distinctive tapered edges and squared tip. The precision required for coffin shapes demands files that allow controlled, accurate shaping.
A buffer smooths the nail surface and prepares it for polish or gel application, creating a flawless canvas for your coffin nail designs. Nail tips or forms are often necessary for achieving the ideal coffin length, especially if your natural nails are short. Press-on coffin tips come pre-shaped and simply need sizing and application, while nail forms allow you to build length with gel or acrylic for custom nail designs.
Gel or acrylic systems provide strength and durability for nail designs, as this shape can be vulnerable to breakage without proper reinforcement. Base coat protects your natural nails and ensures proper adhesion, while top coat seals your design with shine and longevity. Nail glue bonds tips securely, and cuticle oil keeps your nails and surrounding skin healthy throughout the design process.
Detail brushes in various sizes allow for intricate artwork on your coffin nail designs. A flat brush helps with color application and ombre effects, while a thin liner creates delicate lines and patterns. Nail clippers and cuticle pushers complete your basic toolkit for preparing and maintaining beautiful coffin nail designs.
Add-On Accessories to Enhance Coffin Nail Designs
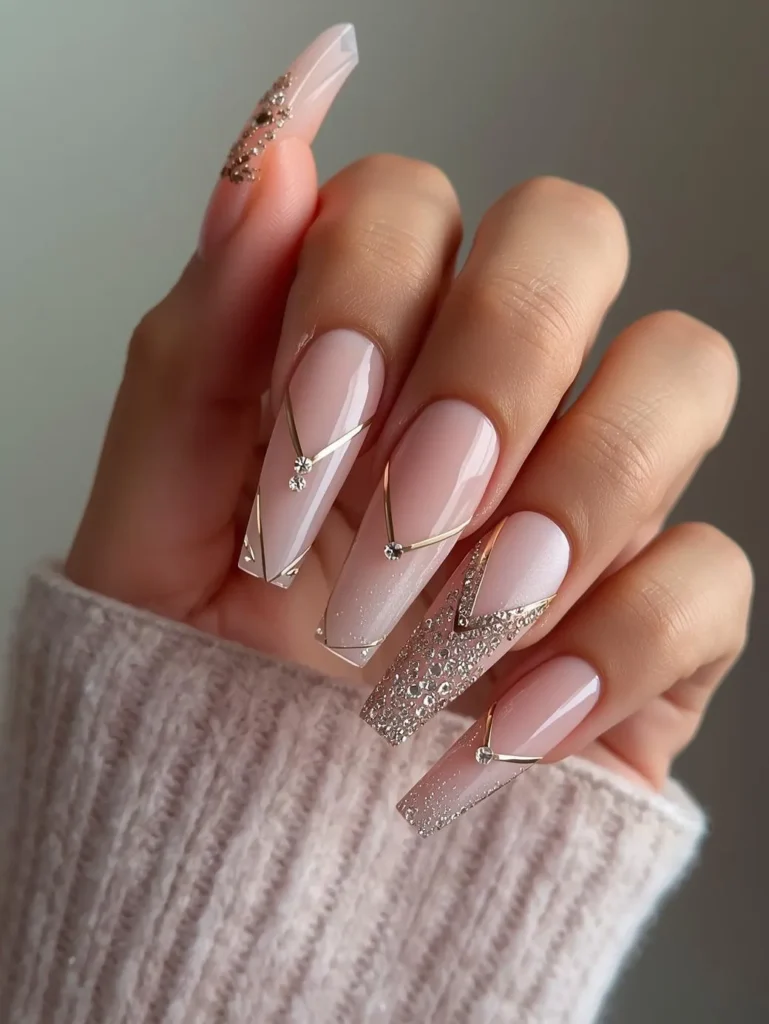
Once you’ve mastered the basics, accessories transform your nail designs from simple to spectacular. The elongated surface of coffin nails provides ample space for creative embellishments that truly shine on this dramatic shape. Rhinestones and crystals in various sizes and colors add glamorous sparkle—the tapered shape of coffin nails makes them perfect for gradient crystal placements that draw the eye.
Metallic foils in gold, silver, rose gold, or holographic finishes create stunning accents on nail designs. The shape’s length showcases foil effects beautifully, especially when applied in abstract patterns or geometric designs. Chrome powder delivers mirror-like metallic finishes that look absolutely stunning on the sleek surface of coffin nails.
Glitter in various sizes and colors adds sparkle and dimension to nail designs. Fine glitter creates subtle shimmer, while chunky glitter makes bold statements. Nail art stickers and decals featuring everything from delicate florals to bold graphics provide instant designs without requiring freehand painting skills. The extended canvas of coffin nails allows for more elaborate sticker arrangements than shorter shapes.
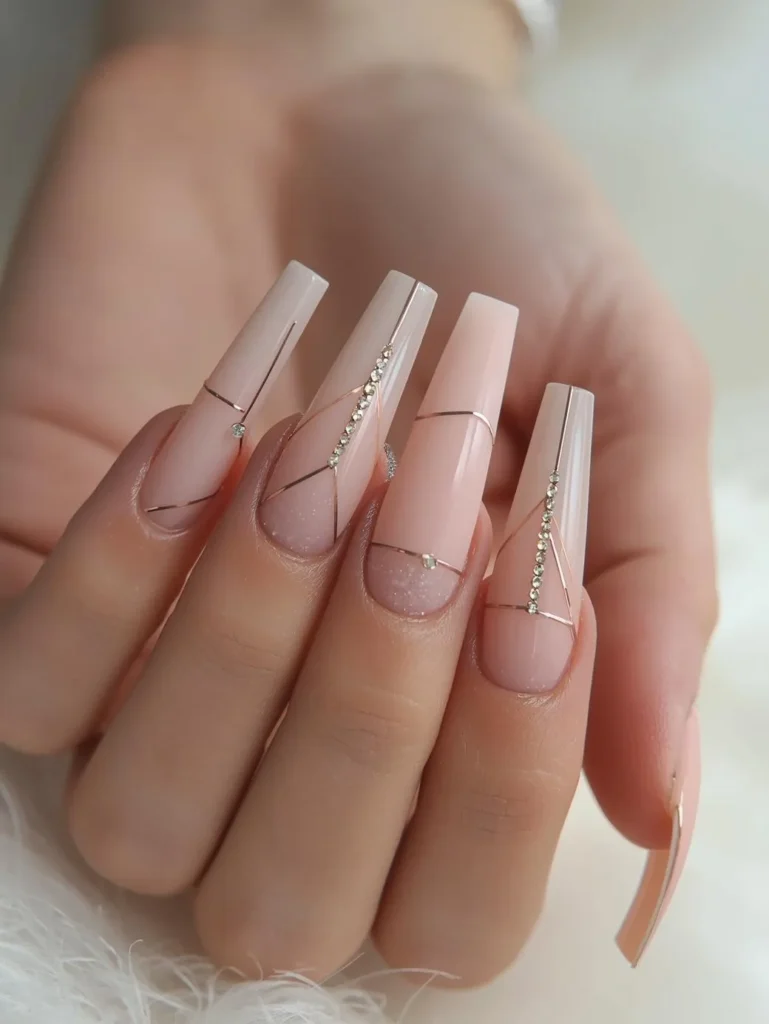
Striping tape in metallic shades creates clean lines and geometric patterns perfect for modern coffin nail designs. 3D embellishments like pearls, studs, and charms add texture and luxury. Stamping plates with intricate patterns allow you to transfer complex designs onto your nail designs with professional precision.
Prepping Your Nails for Coffin Nail Designs
Proper preparation is absolutely essential for achieving beautiful, long-lasting nail designs. The distinctive shape requires careful attention to nail health and structure, as the tapered design can be more prone to breakage than blunt shapes if not properly prepared and maintained. Taking time for thorough prep work ensures your coffin nails look professional and last as long as possible.
Start by removing any existing polish completely, using acetone-based remover for gel polish or regular remover for traditional polish. Wash your hands thoroughly with soap and water to eliminate oils, lotions, and debris. If you’re working with natural nails and they’re long enough, begin shaping them into the coffin form. If not, you’ll need to apply tips or build extensions using gel or acrylic.
For coffin nail designs using natural nails, file the sides of each nail to create the signature taper, narrowing toward the tip. Then carefully file straight across the top to create the squared-off edge that defines nails. Work slowly and check your progress frequently—symmetry is crucial for professional-looking nail designs. File in one direction rather than sawing back and forth to prevent splitting and damage.
Gently push back your cuticles using a cuticle pusher or orange stick to create clean nail beds that showcase your coffin nail designs beautifully. Never cut living cuticle tissue unless absolutely necessary, as this can lead to infection. Buff the surface of your nails lightly to smooth any ridges and create texture that helps products adhere properly.
If you’re applying tips for your nail designs, select the correct size for each nail, apply nail glue to both the tip and your natural nail, press firmly for 10-15 seconds, then file and shape the tips into the coffin form. If using forms to build extensions, secure them properly and apply gel or acrylic according to product instructions, sculpting the coffin shape as you build.
Nail Prep Tips for Long-Lasting Coffin Nail Designs
For nail designs that truly last, proper preparation goes beyond basic steps. Always cleanse your nails with rubbing alcohol or nail prep solution after buffing to remove all oils and dust. This dehydrating step ensures maximum adhesion for gel, acrylic, or polish used in your coffin nail designs.
When creating coffin shapes, maintain adequate sidewall support by not filing too thin along the sides. The tapered shape naturally creates some structural vulnerability, so preserving enough width prevents breakage. Aim for gradual tapering rather than extreme angles for the most durable coffin nail designs.
Apply base coat carefully, capping the free edge and ensuring complete coverage. This protective layer is especially important for nail designs because the squared tip experiences significant wear. If using gel or acrylic for extensions, follow proper curing times and application techniques to ensure structural integrity.
Consider the lifestyle-appropriate length for your nail designs. While dramatic length looks stunning, extremely long coffin nails are more prone to catching on objects and breaking. Choose a length you can comfortably maintain based on your daily activities. Even moderate-length coffin nails create the signature elegant silhouette while being more practical for everyday wear.
Popular Coffin Nail Designs
The beauty of coffin nail designs lies in their versatility and the generous canvas they provide for creative expression. This shape flatters virtually every style aesthetic, from minimalist and sophisticated to bold and artistic. Let’s explore the most popular nail designs that continue to inspire nail enthusiasts worldwide.
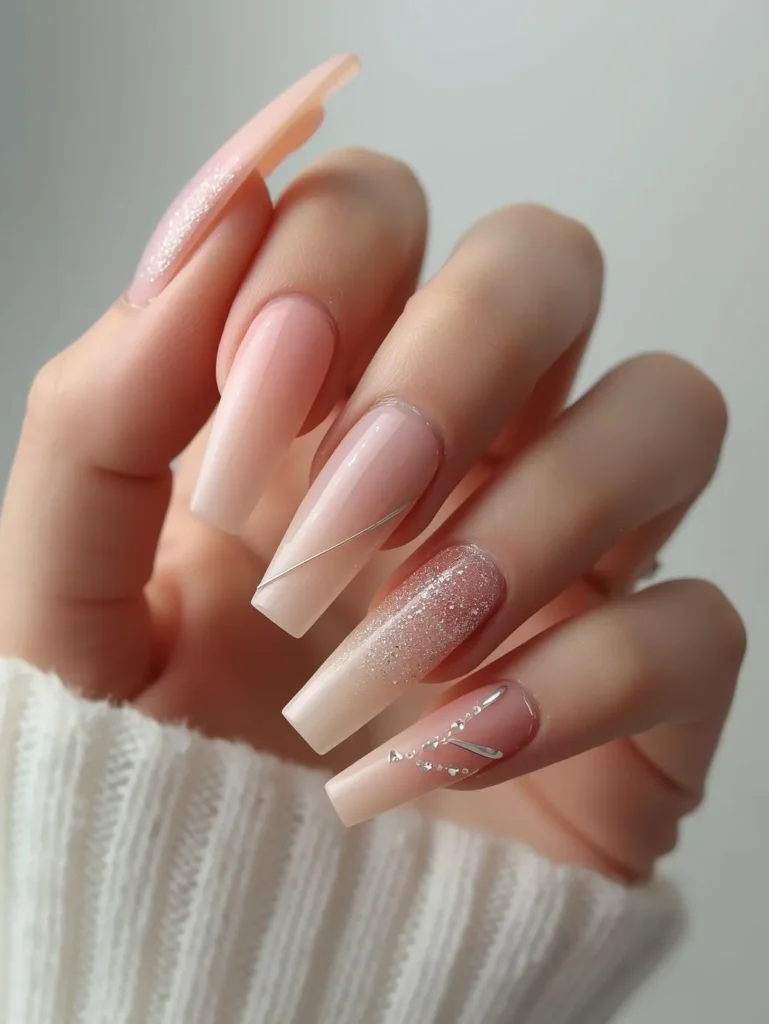
Matte black nail designs exude edgy sophistication and modern glamour. The velvety finish combined with the sleek shape creates a powerful, fashion-forward statement perfect for any occasion. Nude ombré coffin nail designs offer understated elegance, blending soft peachy or beige tones from cuticle to tip for a naturally elongating effect that’s perfect for professional settings or everyday wear.
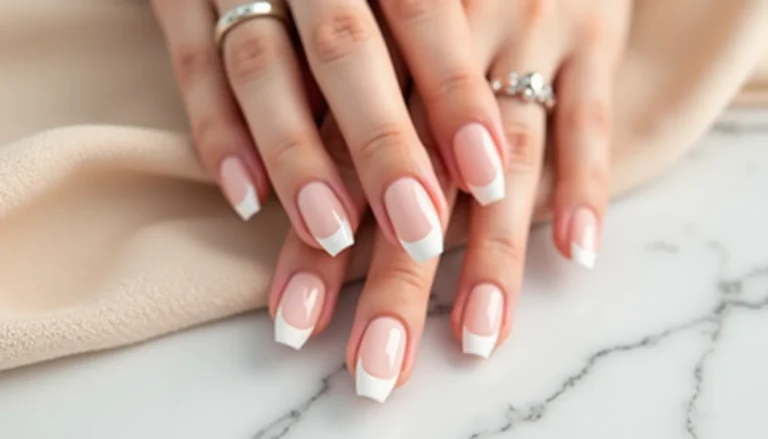
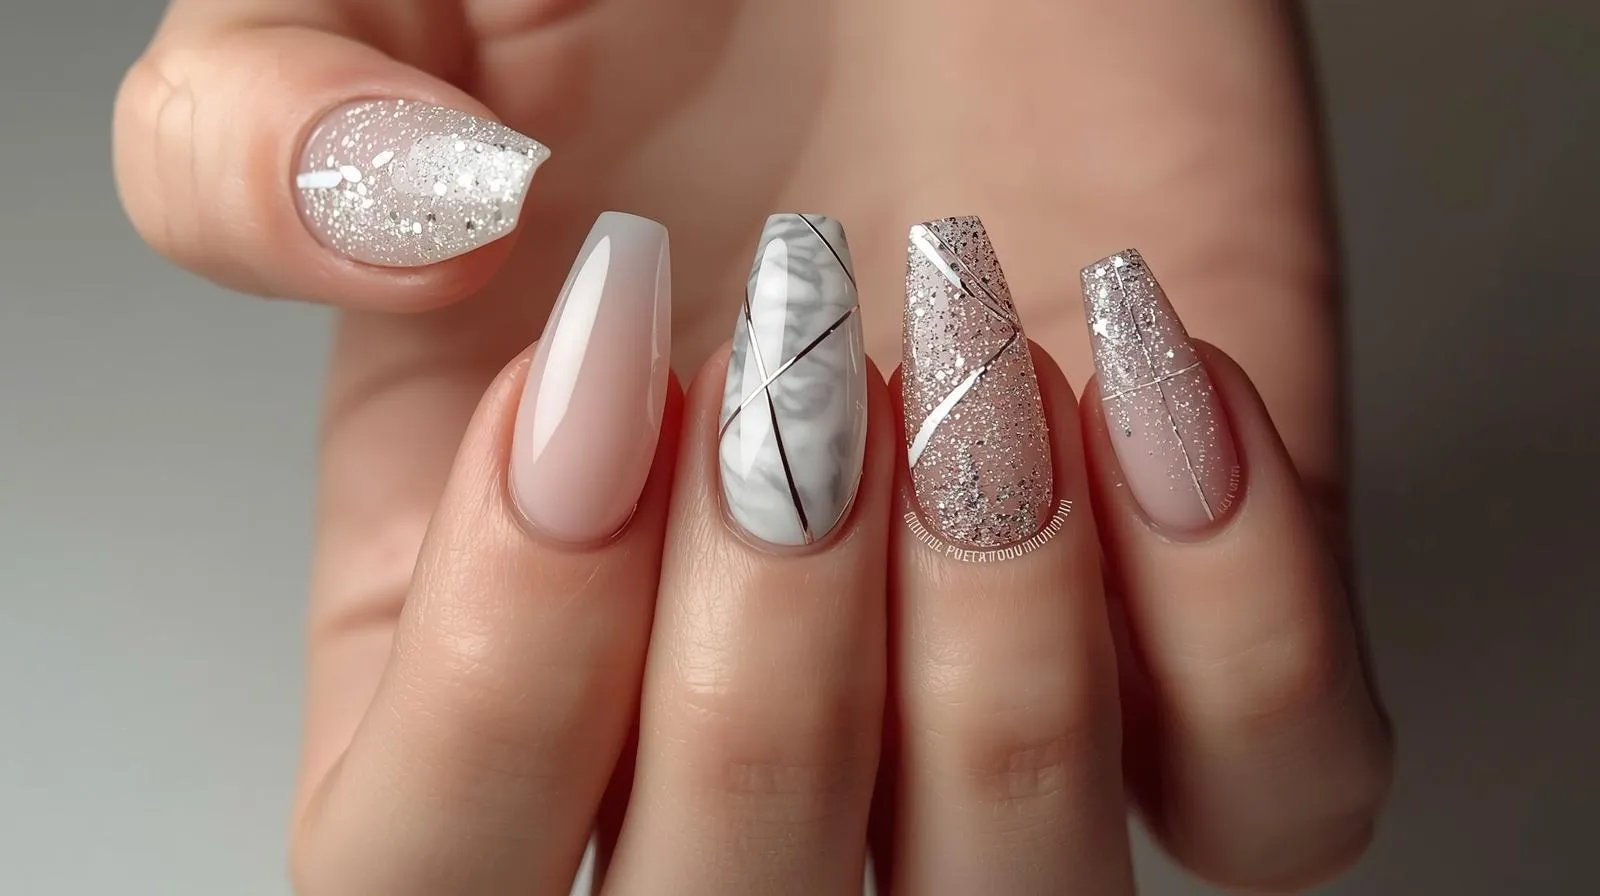
French tip coffin nail designs put a modern twist on the classic manicure. The squared tip of coffin nails creates crisp, clean lines perfect for traditional white tips or contemporary variations using colors like black, metallics, or pastels. Marble effect nail designs featuring swirled patterns in white, grey, gold, or colors create luxurious, artistic looks that showcase beautifully on the extended surface.
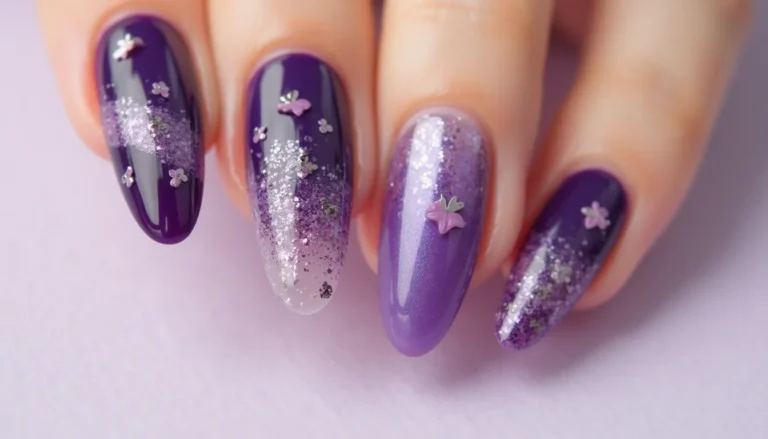
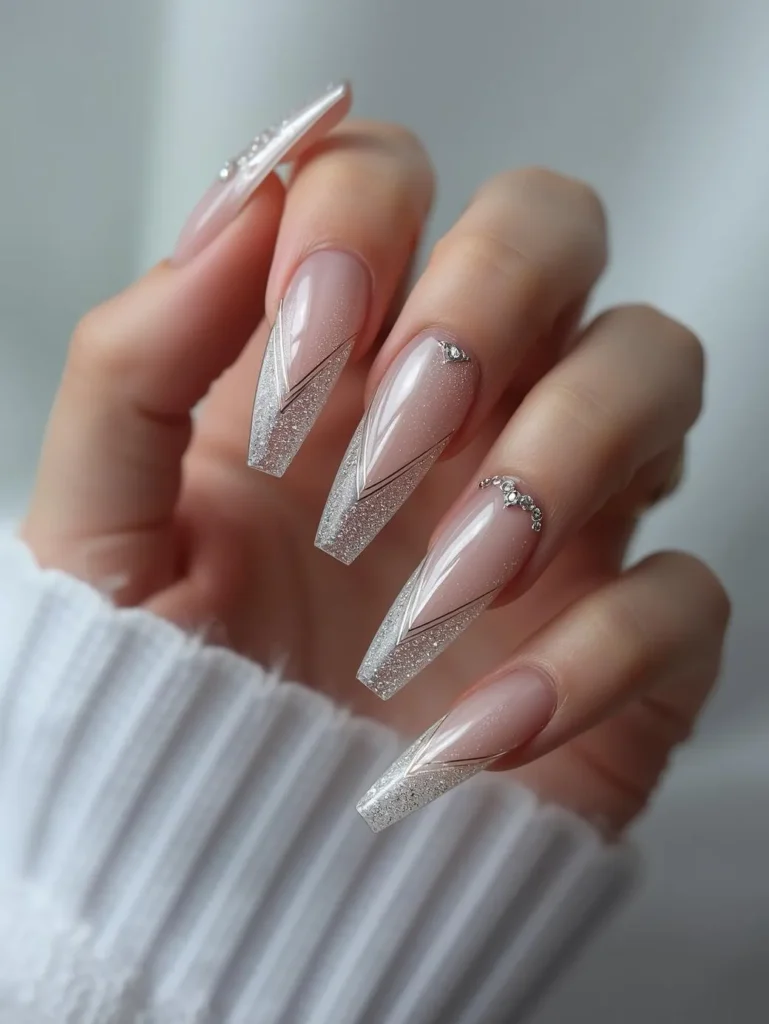
Glitter gradient coffin nail designs featuring sparkle that fades from dense at the tip to subtle at the cuticle create glamorous, eye-catching effects. The length of coffin nails allows gradients to develop fully for maximum impact. 3D art coffin nail designs incorporating raised elements like flowers, bows, or geometric shapes take advantage of the shape’s sturdy structure and prominent canvas.
Chrome and metallic coffin nail designs in silver, gold, rose gold, or holographic finishes create futuristic, high-shine looks that shift and shimmer in different lighting. Negative space coffin nail designs featuring strategic cutouts and transparent areas create modern, artistic statements. Abstract art nail designs with freehand brush strokes, splatters, or geometric patterns showcase creativity and individuality.
Trending Coffin Nail Designs for Seasonal Styles
Seasonal trends bring fresh inspiration to coffin nail designs throughout the year. Summer coffin nail designs embrace bright, vibrant colors like coral, turquoise, sunny yellow, and hot pink. Tropical patterns featuring palm leaves, flamingos, or beach scenes look particularly stunning on the extended canvas of nails. Pastel ombre coffin nail designs in sherbet shades create playful, vacation-ready looks.
Winter coffin nail designs lean into rich, luxurious aesthetics with deep jewel tones like emerald, sapphire, and ruby. Metallic accents in silver and gold, snowflake patterns, and glittery finishes capture the festive spirit beautifully on coffin-shaped nails. Deep burgundy, navy, and forest green coffin nail designs offer sophisticated alternatives to traditional winter colors.
Fall coffin nail designs embrace warm, earthy tones like burnt orange, deep brown, mustard yellow, and olive green. Autumnal patterns featuring leaves, plaid, or cozy sweater textures celebrate the season stylishly. Matte finishes are particularly popular for fall nail designs, creating that perfect cozy-chic vibe.
Spring coffin nail designs celebrate renewal with soft pastels like lavender, mint green, baby pink, and pale yellow. Floral patterns, butterfly motifs, and garden-inspired designs look absolutely enchanting on coffin-shaped nails. Fresh white coffin nail designs with delicate colored accents capture spring’s clean, optimistic energy perfectly.
Step-by-Step Guide to Creating Coffin Nail Designs at Home
Creating stunning nail designs at home is achievable with proper technique, patience, and attention to detail. Follow this comprehensive guide for professional-quality results without the salon price tag.
Begin with completely prepped nails—shaped into the coffin form, cleaned, buffed, and dehydrated. If you’re using tips or have built extensions, ensure they’re properly shaped and secured. Apply a thin, even layer of base coat to all nails, making sure to cap the free edge. The squared tip of coffin nails requires special attention—seal that edge thoroughly for maximum durability. Allow base coat to dry completely.
Apply your chosen base color in thin, even coats. Start with a stripe down the center of the nail, then fill in each side with smooth strokes. The elongated shape of nail designs requires slightly more polish per nail than shorter shapes, but resist the temptation to apply thick coats. Two or three thin layers dry faster, look smoother, and last longer than one thick coat. Allow adequate drying time between each coat—at least two to three minutes.
Once your base color is completely dry, it’s time to create your design. For simple looks like solid colors or French tips, you may be finished with your color application. For more elaborate nail designs, use your detail brushes, dotting tools, striping tape, or stickers to create your chosen pattern. The extended canvas of coffin nails allows for detailed artwork—take advantage of this space to create intricate designs.
Work methodically from one nail to the next, completing each design element before moving on. For ombre effects, apply colors side by side while wet and blend with a clean sponge. For geometric patterns, use striping tape to create clean lines. For rhinestones or 3D elements, apply them while your polish or gel is slightly tacky for best adhesion.
Seal everything with a generous layer of top coat, being extremely careful to cap the free edge and especially the corners of the squared tip. These areas experience the most wear on nail designs, so thorough sealing is crucial. If using gel products, cure according to manufacturer instructions. For regular polish, allow at least fifteen to twenty minutes of drying time before engaging in any activities.
Easy Coffin Nail Designs for Beginners
Starting your nail journey doesn’t require advanced artistic skills. These four beginner-friendly coffin nail designs deliver impressive results with minimal effort and basic techniques.
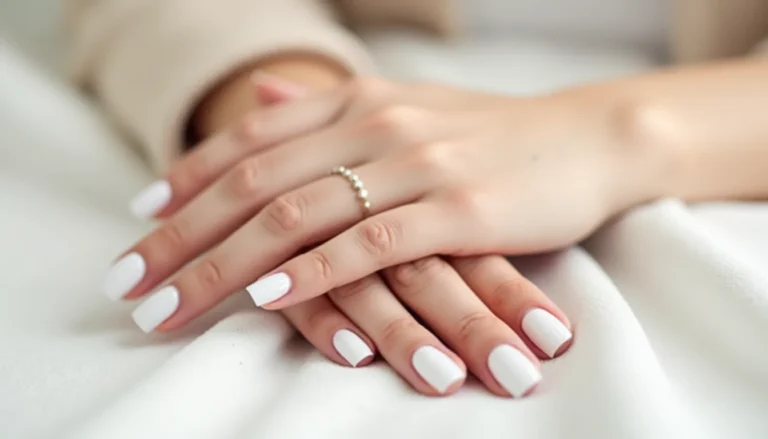
Simple Nude Coffin Nails: Apply a soft nude or beige polish in two thin coats for a classic, elegant look that elongates fingers and complements any outfit. This understated style is perfect for coffin nail beginners and professional settings.
Glossy Black Coffin Nail Designs: Paint all nails with high-shine black polish for a sleek, sophisticated statement. The dramatic shape combined with bold black creates instant glamour without requiring any artistic techniques.
Minimal French Tip Coffin Nails: Apply a sheer pink or nude base, then carefully paint just the squared tips in white, black, or a subtle color. The distinctive tip shape of nails makes French manicures look particularly striking and modern.
Soft Ombré Coffin Nail Designs: Blend two similar shades—like light pink fading into white or nude into peach—using a makeup sponge for a gradient effect. The length of nails allows ombre to develop beautifully with minimal skill required.
Tips for Perfect Coffin Nail Designs Every Time
Achieving flawless coffin nail designs requires understanding the unique characteristics of this shape and how to work with them effectively. These professional tips help you create consistently beautiful results while avoiding common pitfalls.
Symmetry is crucial for professional-looking nail designs. When shaping, constantly compare your nails to ensure both sides taper at the same angle and all tips are the same width. Step back and view your hands from a distance to spot any irregularities. Uneven coffin nails are immediately noticeable and detract from even the most beautiful designs.
Maintain adequate nail thickness when filing coffin shapes. Over-filing the sidewalls creates weak points that lead to breakage. The tapered sides should be substantial enough to support the length—aim for gradual narrowing rather than paper-thin edges. This ensures your nail designs remain structurally sound and durable.
Choose appropriate lengths based on your lifestyle and experience level. If you’re new to nail designs, start with moderate length to get accustomed to the shape. You can always extend length later as you become more comfortable. Extremely long coffin nails look dramatic but require significant adjustment to daily tasks and more careful maintenance.
Work in excellent lighting when creating coffin nail designs. The elongated shape creates shadows that can hide imperfections in dim light. Natural daylight or bright LED lighting helps you see exactly what you’re doing and catch any application issues immediately. Good lighting is especially important for detailed artwork and ensuring even polish coverage on the extended nail surface.
Apply thin coats and allow proper drying time between layers. The increased surface area of nail designs means each nail requires more product and potentially longer drying time. Rushing leads to smudging, bubbling, and premature wear. Patience truly pays off with this shape.
Aftercare Tips to Maintain Coffin Nail Designs
Proper aftercare ensures your nail designs stay beautiful and intact for as long as possible. This shape requires slightly more maintenance awareness than blunt shapes due to its structure, but following these guidelines keeps your manicure looking freshly done.
Immediately after creating your coffin nail designs, treat them with care while they fully cure. Avoid water immersion, harsh chemicals, and activities that put pressure on the extended tips for at least two hours. This patience allows all layers to properly harden and bond, preventing premature lifting or chipping.
Be mindful of your hands during daily activities. The extended, tapered shape of coffin nail designs makes them more prone to catching on objects, clothing, or hair. Adjust how you open car doors, type on keyboards, and perform other routine tasks to protect your nails from accidental impacts or pressure that could cause breakage.
Moisturize your hands and cuticles daily with quality hand cream and cuticle oil. Healthy, hydrated nails are more flexible and resistant to breakage—particularly important for nail designs where the shape creates natural stress points. Apply oils around the cuticle and sidewalls to maintain nail flexibility.
Wear gloves during household chores, especially when washing dishes, cleaning, or gardening. Water exposure and harsh chemicals weaken the structure of nail designs and break down polish or gel. This simple protective measure can extend your manicure’s life by a week or more.
Reapply top coat every two to three days to maintain shine and add fresh protective layers. This is especially important for the squared tips of coffin nail designs, which experience significant wear. A fresh top coat seals minor surface wear before it develops into visible chips or cracks.
If you notice a crack or break, address it immediately to prevent worsening. Small cracks can often be repaired with a thin layer of gel or nail glue, then sealed with top coat. For more significant damage, file the nail shorter and reshape, or visit a professional for repair to maintain the integrity of your nail designs.
Keep nails at a manageable length. If you find your coffin nail designs are constantly breaking or interfering with daily activities, consider filing them slightly shorter. Even a small reduction in length can dramatically improve durability while maintaining the distinctive coffin shape.
FAQ – Coffin Nail Designs
What are the most popular Coffin Nail Designs right now?
The most popular nail designs currently include nude ombre for understated elegance, matte black for edgy sophistication, and French tips with modern twists using colors beyond traditional white. Chrome and metallic finishes in rose gold, silver, and holographic are extremely trendy for coffin nail designs, as are negative space geometric patterns that create artistic, editorial looks. Glitter gradients, marble effects, and minimalist line art are also dominating social media and salon requests. The versatility of coffin nail designs means there’s a trending style for every aesthetic preference, from bold and dramatic to soft and romantic.
Are Coffin Nail Designs good for short nails?
While coffin nail designs are traditionally associated with longer lengths, they can absolutely work on shorter nails with some modifications. Short coffin nails feature a more subtle taper and narrower squared tip, creating a sophisticated look that’s more practical for daily activities. The key is maintaining the characteristic shape—tapered sides with a squared-off tip—even at shorter lengths. Short nail designs offer the stylish silhouette of the shape while being less prone to breakage and more compatible with typing, texting, and manual tasks. They’re an excellent option for those who love the coffin aesthetic but need more practical nail lengths.
How long do Coffin Nail Designs usually last?
The longevity of nail designs depends on several factors including the products used, application technique, and your lifestyle. Gel coffin nail designs typically last two to three weeks with proper care and maintenance. Acrylic coffin nail designs can last three to four weeks before requiring fills. Regular polish on coffin-shaped nails usually lasts seven to ten days with careful application and proper aftercare. The extended length and shape of nails can make them slightly more prone to chips or breaks than shorter, blunter shapes, so protective measures like wearing gloves during chores and avoiding excessive water exposure are crucial for maximizing the lifespan of your nail designs.
Are Coffin Nail Designs easy to do at home?
Coffin nail designs can be successfully created at home with the right tools, techniques, and practice, though they require more skill than simpler shapes like round or square. The shaping process demands precision and symmetry, which improves with experience. Using pre-shaped coffin press-on tips makes the process much easier for beginners, as you skip the challenging shaping step. If you’re building nail designs on natural nails or with gel/acrylic extensions, expect a learning curve as you master the distinctive tapered shape with squared tips. Start with moderate lengths and simple designs, watch detailed tutorials, and practice regularly. Many people successfully create beautiful nail designs at home once they’ve developed their technique.
What’s the difference between Coffin Nail Designs and Ballerina Nail Designs?
Coffin nail designs and ballerina nail designs are actually the same shape with different names. Both terms describe nails that are tapered along the sides with a squared-off tip, resembling either a coffin or a ballerina’s slipper depending on your perspective. Some people prefer the term “ballerina nails” as it sounds more elegant and less morbid than “coffin nails,” but there’s no actual difference in the shape itself. Whether you call them nail designs or ballerina nail designs, you’re referring to the same beautiful, elongated, tapered shape that’s become one of the most popular nail styles in modern beauty culture.
Conclusion
Coffin nail designs represent the perfect fusion of elegance, edge, and versatility in modern nail art. This distinctive shape has earned its place as one of the most requested styles in salons worldwide, and for good reason—the elongated, tapered silhouette with its signature squared tip flatters every finger shape while providing an expansive canvas for creative expression. From minimalist nude ombres perfect for professional settings to dramatic glitter gradients ideal for special occasions, nail designs adapt beautifully to any aesthetic preference or lifestyle.
The journey to mastering coffin nail designs may require patience and practice, especially when learning to shape the distinctive form, but the stunning results are absolutely worth the effort. Whether you’re working with natural nails, press-on tips, or gel and acrylic extensions, the key is proper preparation, precise shaping, and careful maintenance. Start with simpler designs and moderate lengths as you build confidence, then gradually experiment with more elaborate artwork, embellishments, and dramatic extensions as your skills develop.
Don’t be intimidated by the sleek sophistication of nail designs—with the right tools, techniques, and aftercare, anyone can achieve and maintain this gorgeous nail shape. Express your personal style through color choices, patterns, finishes, and embellishments that reflect who you are. Whether you prefer understated elegance or bold artistic statements, coffin nail designs provide the perfect platform for showcasing your creativity and fashion sense. Embrace the trend that continues to dominate runways, red carpets, and everyday style, and discover why nail designs have become synonymous with modern beauty and confidence. Your perfect coffin manicure is just a few filed edges away!