
How to Do Builder Gel Nails – Tips, Tricks & Stunning Styles
If you’ve been dreaming of salon-quality nails that last for weeks without chipping, builder gel nails might be your perfect match. Builder nails have revolutionized the nail industry by offering a durable, flexible alternative to traditional acrylics that protects and strengthens your natural nails. Unlike regular gel polish, builder gel creates a thick, supportive layer that allows you to extend length, repair broken nails, or simply add resilience to weak nails.
What makes builder gel nails so special? They’re incredibly versatile, allowing you to create stunning designs while maintaining the health of your natural nails. Whether you’re a beginner experimenting at home or a seasoned nail enthusiast, mastering builder gel nails opens up a world of creative possibilities. From elegant French tips to bold geometric patterns, builder gel nails provide the perfect canvas for expressing your unique style.
In this comprehensive guide, we’ll walk you through everything you need to know about creating flawless builder gel nails, from gathering essential tools to perfecting your technique and avoiding common pitfalls.
Table of Contents
Essential Tools for Builder Gel Nails
Before diving into the application process, gathering the right tools is crucial for achieving professional-looking builder gel nails. Having quality supplies makes the difference between nails that last three weeks and those that chip after a few days. The good news? You don’t need to break the bank to get started with builder gel nails at home.
Your success with builder gel nails depends heavily on using proper equipment. While some items are absolute necessities, others are optional accessories that can elevate your nail game to the next level. Let’s break down exactly what you need to create stunning builder gel nails.
Basic Tools Needed for Builder Gel Nails
The foundation of perfect builder gel nails starts with these essential tools:
UV/LED Lamp: This is non-negotiable for builder gel nails. The lamp cures the gel, transforming it from a liquid to a solid, durable finish. LED lamps cure faster (30-60 seconds) while UV lamps take longer (2-3 minutes). Invest in a quality lamp with adequate wattage for even curing.
Builder Gel: Choose between hard builder gel for extensions and strength, or soft builder gel (also called “builder in a bottle”) for a more flexible finish. Builder gel nails require this specialized formula that’s thicker than regular gel polish.
Base and Top Coat: A quality base coat ensures proper adhesion and prevents staining, while a glossy top coat seals your builder gel nails with a professional shine and added protection.
Nail File and Buffer: A 180-grit file works perfectly for shaping builder gel nails, while a buffer smooths the surface between layers. Never use metal files on gel nails.
Cuticle Pusher and Nipper: Clean cuticles are essential for long-lasting builder gel nails. A pusher gently moves back the cuticle, while nippers remove excess skin.
Nail Cleanser or Isopropyl Alcohol: Dehydrating the nail plate before application and wiping away the sticky layer after curing ensures your builder gel nails bond properly and look pristine.
Nail Forms or Tips: If you’re extending length with builder gel nails, you’ll need either paper forms or plastic tips to build upon.
Brush: Some builder gel nails products come with a built-in brush, but having a separate gel brush gives you more control for detailed work.
Optional Accessories for Creative Builder Gel Nails
Once you’ve mastered the basics, these accessories can transform your builder gel nails into miniature works of art:
Nail Art Brushes: Thin detailing brushes, dotting tools, and striping brushes let you create intricate designs on your builder gel nails. A fine liner brush is perfect for drawing delicate patterns.
Glitter and Rhinestones: Add sparkle to your builder gel nails by mixing glitter into the gel or carefully placing rhinestones before the final cure. Encapsulating decorations in gel ensures they stay put.
Gel Paints and Pigments: These allow you to create custom colors and effects on your builder gel nails. From chrome powders to color-shifting pigments, the options are endless.
Ombre Sponges: Create gradient effects on your builder gel nails by dabbing different colored gels with a makeup sponge for a seamless blend.
Nail Stencils and Decals: Perfect for achieving complex designs on builder gel nails without advanced artistic skills. Apply them before the final top coat layer.
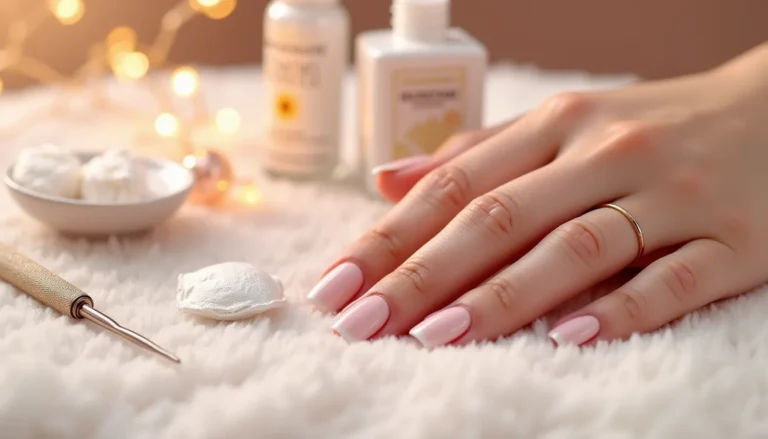
Preparing Your Nails for Builder Gel Nails
Proper preparation is the secret to builder gel nails that last. Skipping prep steps is the number one reason why gel nails lift prematurely. Think of nail preparation as creating the perfect foundation for a house – without it, everything crumbles.
Start by removing any existing polish completely. Wash your hands thoroughly with soap to eliminate oils, then dry completely. Natural oils are the enemy of builder gel nails adhesion.
Next, trim your nails to your desired length. When working with builder nails, you can always add length later, so start conservative. Push back your cuticles gently using a cuticle pusher – never cut live skin, only remove dead, excess cuticle.
Now comes the critical step: buffing. Use a fine-grit buffer to gently roughen the surface of your nails. This removes the natural shine and creates tiny grooves for the builder gel to grip. Don’t over-buff – you want to create texture, not thin your nails.
Nail Preparation Tips for Builder Gel Nails
These professional tricks will ensure your builder nails stay perfect for weeks:
Dehydrate properly: After buffing, wipe each nail with a lint-free wipe soaked in nail cleanser or 99% isopropyl alcohol. This removes invisible oils and moisture that prevent proper adhesion of builder nails.
Avoid skin contact: When applying builder gel nails, keep the product away from your cuticles and side walls. Gel touching skin will cause lifting within days. Leave a tiny gap around the edges.
Cap the free edge: Always seal the tip of your nail with each layer of builder gel. This prevents water from seeping underneath your builder nails and causing lifting.
Work in thin layers: The golden rule for builder gel nails is that multiple thin layers always trump one thick layer. Thin applications cure completely, preventing soft spots and ensuring maximum durability.
Check your pH balance: If you have naturally oily nails, consider using a pH-balancing dehydrator before starting your builder nails. This product temporarily removes excess moisture and oils.
Step-by-Step Guide on How to Do Builder Gel Nails
Now for the exciting part – creating your builder nails! Follow these steps carefully for professional results:
Step 1: Apply Base Coat: Apply a thin layer of base coat to each nail, ensuring even coverage while avoiding the cuticles and side walls. Cure under your UV/LED lamp according to manufacturer instructions (typically 30-60 seconds for LED, 2 minutes for UV).
Step 2: Apply First Builder Gel Layer: Using your brush, apply a thin layer of builder gel to your nails. For builder gel nails with extensions, place your form or tip first, then apply gel over it. Work one hand at a time to prevent the gel from settling unevenly. Focus on keeping the application smooth and even.
Step 3: Cure Thoroughly: Place your hand under the lamp and cure completely. Never under-cure builder nails, as this creates a weak, flexible layer prone to breaking.
Step 4: Apply Second Builder Gel Layer: Builder gel nails require at least two layers for strength. Apply your second coat slightly thicker than the first, focusing on creating an apex (the highest point) in the center of the nail for maximum strength. Self-level the gel by holding your nail parallel to the floor for a few seconds.
Step 5: Cure Again: Cure this layer completely. Check for any imperfections or air bubbles – if you spot any, you can apply a third thin layer of builder gel to smooth them out.
Step 6: File and Shape: Once cured, file your builder nails into your desired shape – square, oval, almond, coffin, or stiletto. Work gently to avoid creating heat. Use a buffer to smooth any rough edges.
Step 7: Wipe Away Residue: Most builder nails have a sticky inhibition layer after curing. Wipe this away with a lint-free wipe and alcohol or gel cleanser before moving to the top coat.
Step 8: Apply Top Coat: Seal your beautiful builder nails with a glossy top coat. Apply in thin, even strokes, and remember to cap the free edge. Cure for the full recommended time.
Step 9: Final Wipe and Moisturize: Remove any final sticky layer with cleanser. Apply cuticle oil generously around each nail and massage into the skin for healthy-looking builde nails.
Beginner Tips for Builder Gel Nails
Starting your builder nails journey? These tips will help you avoid rookie mistakes:
Practice patience: Don’t rush the curing process. Under-cured builder gel nails will feel soft and flexible instead of firm and strong. When in doubt, cure for an extra 30 seconds.
Start with your non-dominant hand: Your dominant hand has better control, so save it for last when you’re already warmed up. Your first attempt at builder gel nails will improve dramatically by nail ten.
Work in good lighting: Proper lighting helps you spot imperfections in your builder gel nails before curing. A desk lamp aimed at your work area makes all the difference.
Keep gel off your skin: If gel touches your skin during application, wipe it away immediately with a clean brush dipped in cleanser. Cured gel on skin creates lifting points for your builder nails.
Store products properly: Keep your builder gel products away from sunlight and tightly sealed. UV exposure can cure gel in the bottle, ruining your expensive products.
Master one technique before moving on: Perfect basic builder nails before attempting complex designs. Solid fundamentals make everything else easier.
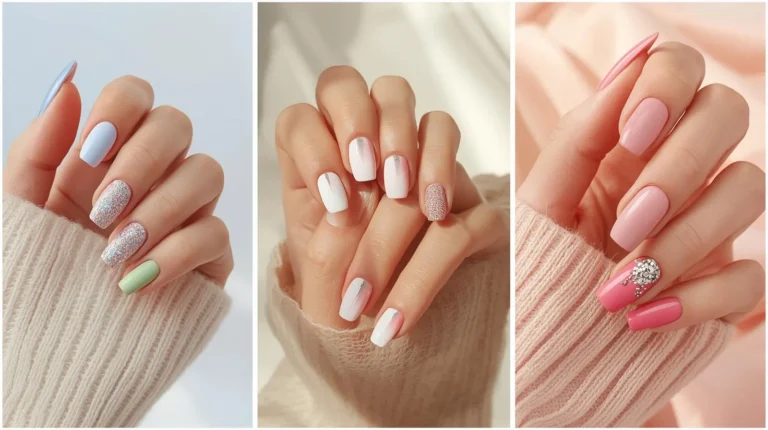
Popular Styles with Builder Gel Nails
The beauty of builder gel nails lies in their versatility. Here are trending styles you can create:
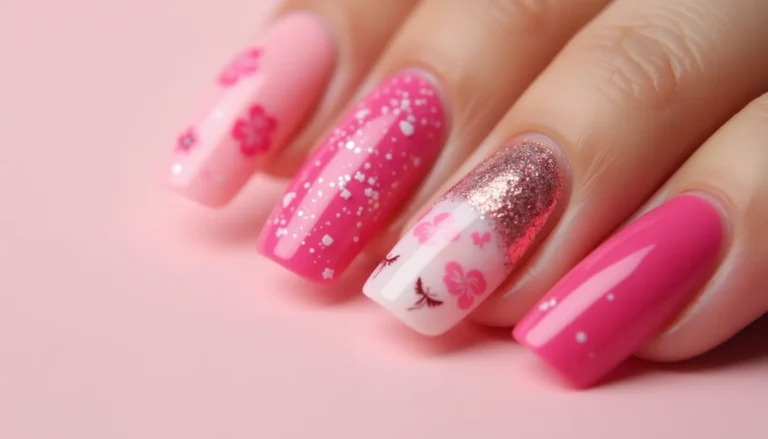
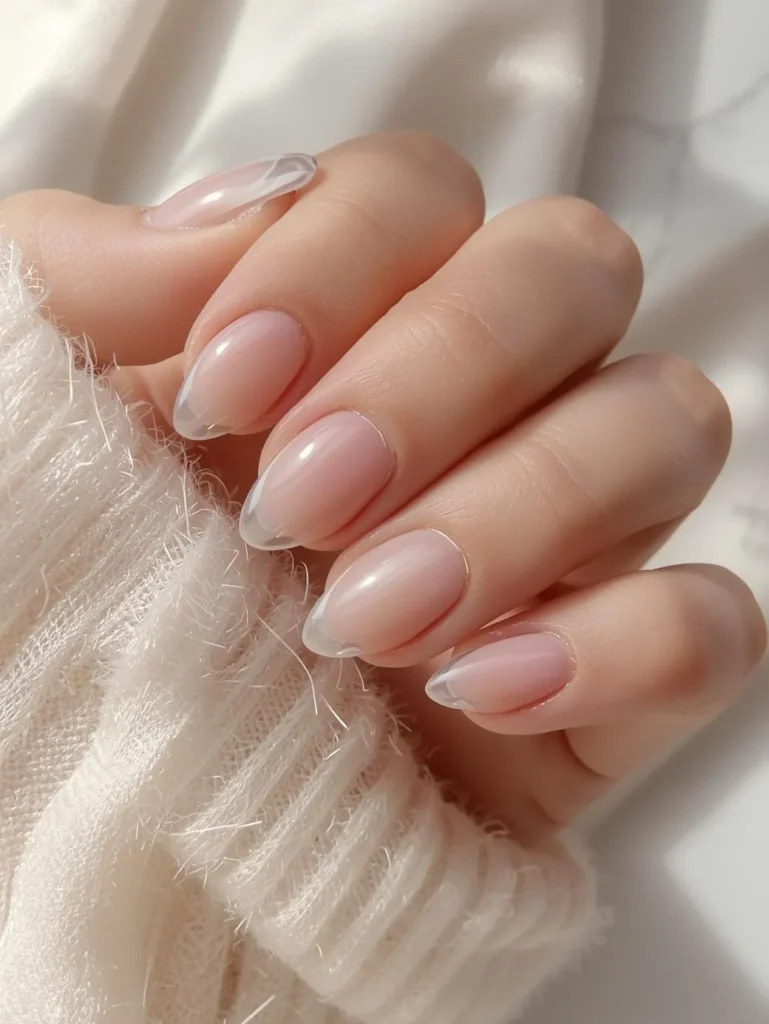
Classic French Tips: Builder nails are perfect for French manicures. Use a nude or pink builder gel as your base, then add white tips either by hand or with nail guides. The structural strength of builder gel keeps your extended tips from breaking.
Ombre Gradients: Create stunning sunset effects on your builder nails by blending two or more colors. Apply your base builder gel, then use a sponge to dab on gradient colors before curing.
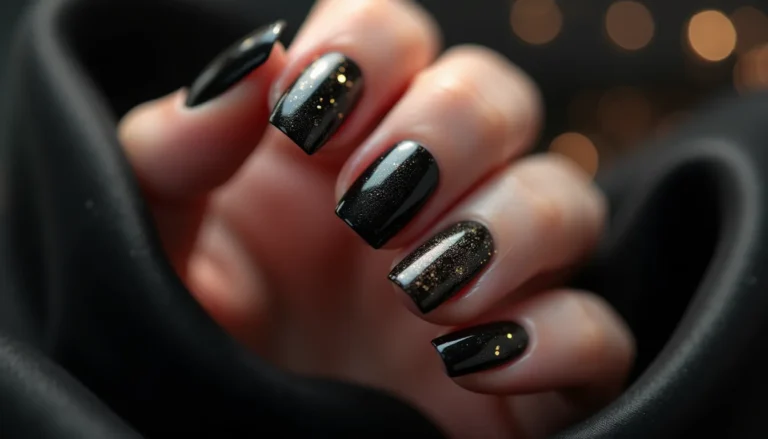
Glitter Explosion: Mix fine glitter into clear builder gel for sparkling builder nails that catch every light. You can also create glitter ombres by concentrating sparkle at the tips.
Geometric Patterns: The firm surface of cured builder gel nails provides the perfect canvas for clean lines and geometric designs. Use striping tape or thin brushes with contrasting gel paints.
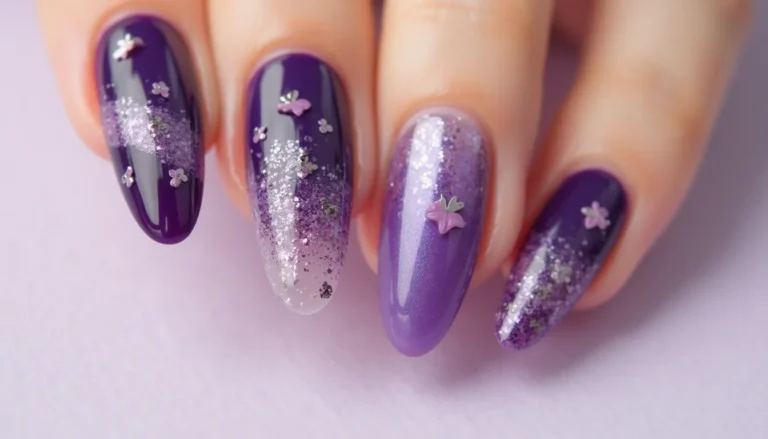
Encapsulated Designs: One unique advantage of builder nails is the ability to encapsulate designs. Place dried flowers, foils, or thin decorations on your first layer, then seal them under additional builder gel layers for a 3D effect trapped in glass.
Marble Effect: Swirl different colored builder gels together before curing for elegant marble builder gel nails. Use a thin brush or dotting tool to create the veining effect.

Common Mistakes to Avoid When Doing Builder Gel Nails
Even experienced nail enthusiasts make these mistakes with builder nails:
Applying layers too thick: Thick builder gel layers won’t cure properly in the center, creating soft spots that lead to breakage. Always opt for multiple thin layers rather than one thick application.
Skipping the base coat: Some people skip base coat to save time, but this causes staining and poor adhesion. Base coat is essential for long-lasting builder gel nails.
Improper curing: Using a weak lamp, not curing long enough, or having old bulbs in your UV lamp prevents complete polymerization. Your builder nails will feel flexible and peel off easily if under-cured.
Touching cuticles with gel: When builder gel touches the cuticle area, it lifts as your nails grow. Always leave a microscopic gap between the gel and your cuticle line.
Over-filing natural nails: Aggressive buffing thins your nail plate and causes damage. Builder nails should protect your natural nails, not harm them. A light buffing is sufficient.
Forgetting to cap the free edge: Sealing the tip of your nail with each layer of product is crucial. Uncapped builder nails allow moisture to seep in from the tip, causing lifting and separation.
Using expired products: Builder gel has a shelf life. Old, separated, or thick gel won’t cure properly and compromises the integrity of your builder nails.
Aftercare & Maintenance for Builder Gel Nails
Congratulations on your beautiful new builder nails! Now let’s keep them looking fresh:
Moisturize daily: Apply cuticle oil at least once daily to keep the skin around your builder gel nails healthy and prevent lifting. Moisturized cuticles also make your manicure look more polished.
Wear gloves for chores: Protect your builder nails from harsh chemicals by wearing gloves when cleaning, washing dishes, or using beauty products. Chemicals can break down the gel and cause premature wear.
Avoid using nails as tools: Don’t use your builder nails to open cans, peel labels, or scratch things off. While builder gel is strong, treating nails roughly increases the risk of cracks or breaks.
Get fills every 2-3 weeks: As your natural nails grow, a gap appears at the base of your builder gel nails. Schedule fills to apply fresh gel to the regrowth area and maintain the structural apex.
Refresh your top coat: Between full sets, apply a fresh layer of top coat to your builder nails every week. This maintains the glossy shine and adds an extra layer of protection.
Remove properly: When it’s time to remove your builder gel nails, never peel or pick them off. Either soak them in acetone or file them down carefully to avoid damaging your natural nails.
Give your nails breaks: While builder nails are gentler than acrylics, giving your natural nails occasional breaks allows them to breathe and recover. Apply strengthening treatments during these periods.
Conclusion
Mastering builder gel nails opens up a world of creative possibilities while keeping your natural nails strong and protected. With the right tools, proper preparation, and careful technique, you can achieve salon-quality builder nails in the comfort of your own home. Remember that practice makes perfect – your first set of builder gel nails might not be flawless, but each application will improve your skills.
The key to stunning, long-lasting builder nails lies in patience and attention to detail. From thorough nail preparation to working in thin, properly cured layers, each step builds toward a beautiful, durable result. Don’t skip the aftercare routine – your builder gel nails will reward your diligence with weeks of chip-free wear.
Whether you’re drawn to classic French tips, bold glitter designs, or artistic patterns, builder nails provide the perfect foundation for your creativity. Start with the basics, avoid common mistakes, and gradually experiment with more advanced techniques. Your journey to perfect builder gel nails begins with that first thin layer and ends with a confidence-boosting manicure that turns heads everywhere you go. So gather your supplies, follow these proven techniques, and get ready to fall in love with your strong, stunning builder nails!