Black Nail Designs – Bold, Stylish & Modern Ideas
Black nail designs have emerged as the ultimate statement in modern nail art, combining edge, sophistication, and versatility in one powerful color. Far from being just a goth or alternative choice, black has become a mainstream favorite that works for every occasion, season, and personal style. From sleek matte finishes to glossy high-shine looks, black nails command attention while maintaining an air of refined elegance.
What makes black nail designs so enduringly popular? Black is the ultimate neutral that paradoxically makes a bold statement. It complements every skin tone, pairs effortlessly with any outfit, and serves as the perfect canvas for creative expression. Whether you’re heading to a corporate meeting, a night out, or a casual weekend brunch, black nail designs adapt seamlessly to any setting. You can keep them minimalist and chic with simple solid black, or transform them into artistic masterpieces with metallic accents, intricate patterns, or sparkling embellishments. As we dive into the world of black nail art, you’ll discover why this timeless color continues to dominate fashion runways, social media feeds, and everyday style.
Table of Contents
Essential Tools for Black Nail Designs
Creating stunning black nail designs requires a well-curated collection of tools and supplies. While black polish is forgiving in many ways—hiding minor imperfections better than lighter colors—quality tools ensure your manicure looks polished, professional, and lasts as long as possible. Building your nail art toolkit is essential for achieving salon-worthy results at home.
Basic Tools for Black Nail Designs
Every impressive black manicure starts with fundamental essentials. A high-quality nail file helps you shape your nails to perfection, whether you prefer classic square, elegant oval, trendy coffin, or dramatic stiletto shapes. Black nail designs look particularly striking with well-maintained nail shapes that complement your finger length and personal style.
A buffer smooths your nail surface, removing ridges and creating an even canvas for polish application. This step is crucial for black nail designs because even small imperfections can affect how light reflects off the dark surface. Base coat is absolutely essential—it protects your natural nails from potential staining (black polish can sometimes leave shadows on bare nails) and provides a smooth foundation for even color application.
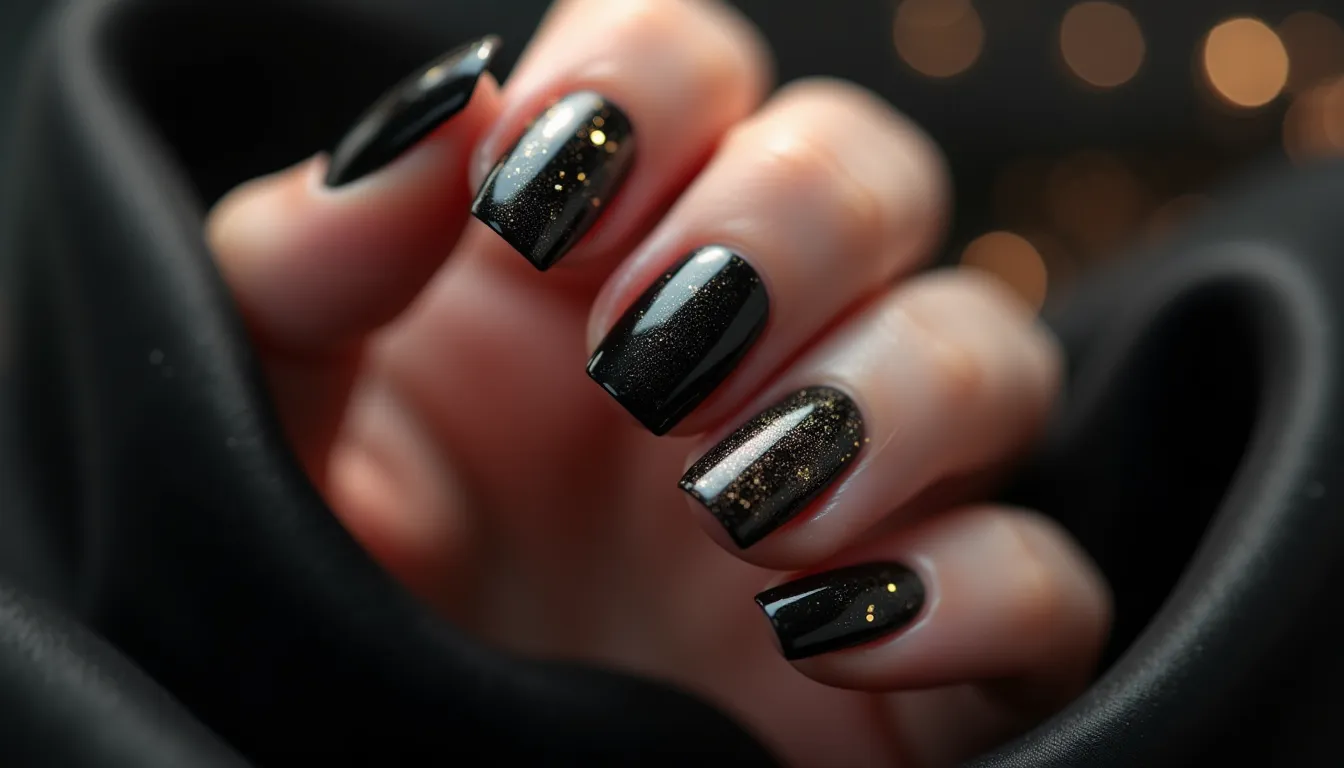
Your black polish collection should include various finishes. Classic glossy black creates sleek, sophisticated looks, while matte black delivers edgy, contemporary vibes. Consider adding a black with shimmer or fine glitter for dimensional effects. A brilliant top coat seals and protects glossy black nail designs, while a matte top coat can transform any glossy black into a velvety finish.
Detail brushes are invaluable for creating intricate black nail designs. A fine liner brush helps with delicate lines and patterns, while a flat brush works perfectly for geometric shapes and color blocking. Dotting tools in various sizes create perfect circles for patterns, while cleanup brushes dipped in acetone ensure crisp, professional-looking edges. Don’t forget quality nail polish remover, lint-free cotton pads, and nourishing cuticle oil to maintain healthy nails throughout your creative process.
Accessories to Enhance Black Nail Designs
Once you’ve mastered basic application, accessories take your black nail designs from simple to spectacular. Nail art stickers and decals in metallic gold, silver, or white create instant contrast against black bases. Geometric patterns, celestial designs, or abstract art stickers add personality without requiring freehand painting skills.
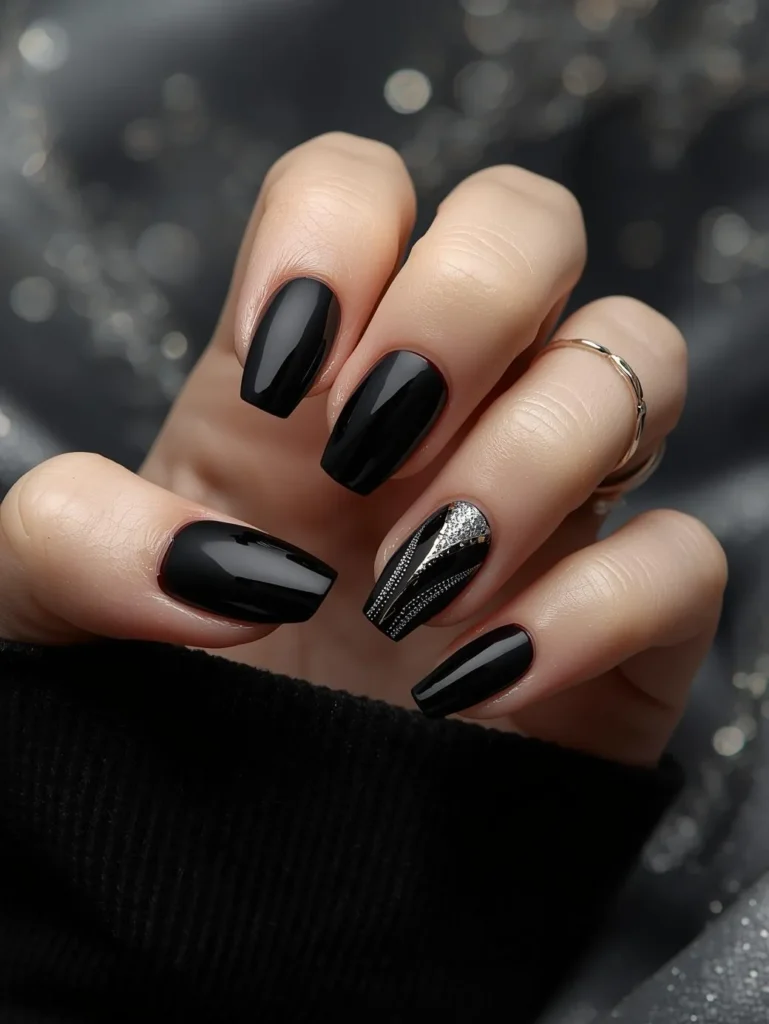
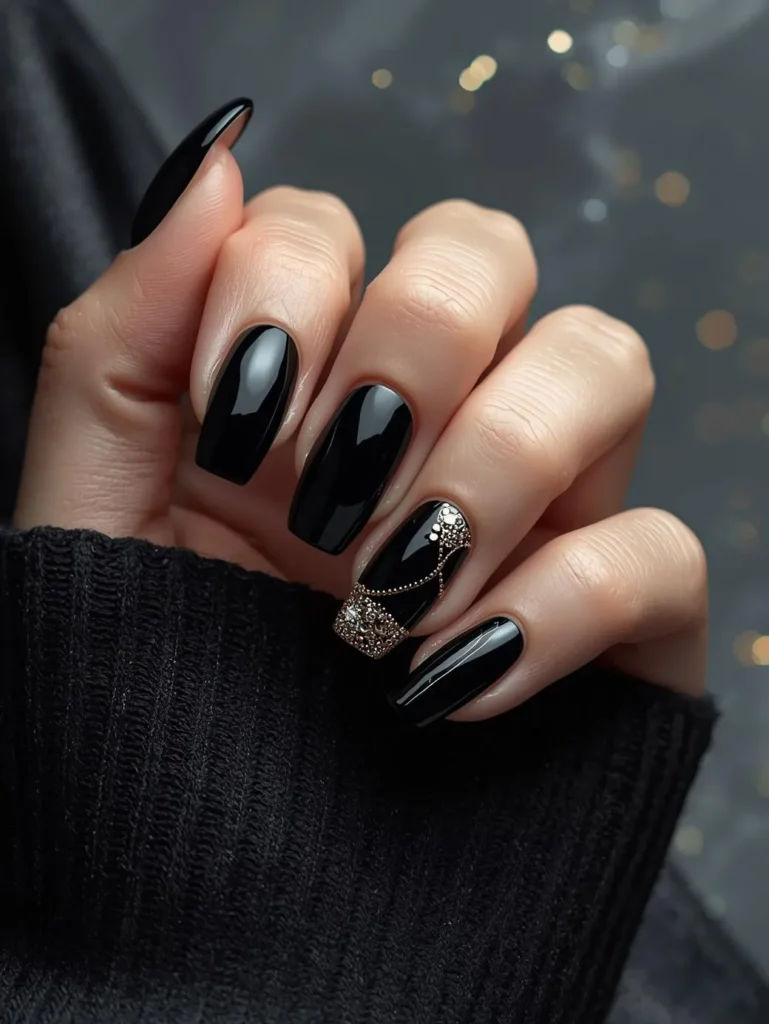
Rhinestones and crystals in clear, silver, or even colored stones create glamorous accents perfect for evening events or special occasions. The contrast between sparkling embellishments and matte or glossy black is incredibly striking. Gold or silver striping tape adds clean metallic lines to black nail designs, creating elegant or edgy looks depending on placement and pattern.
Metallic glitter polishes in gold, silver, holographic, or even copper create stunning effects when layered over black or used as accent nails. Stamping plates featuring intricate lace, geometric, or nature-inspired patterns allow you to transfer complex designs onto your black nail designs with professional precision. Nail art foils in metallic or holographic finishes add unique textures and eye-catching elements. With these accessories, your black nail designs can range from understated elegance to bold, attention-grabbing art.
Preparing Your Nails for Black Nail Designs
Proper nail preparation is the foundation of long-lasting, beautiful black nail designs. While black polish is more forgiving than lighter colors in some ways, thorough prep work ensures smooth application, prevents premature chipping, and keeps your manicure looking fresh for weeks.
Begin by completely removing any existing polish, ensuring no traces remain. Wash your hands thoroughly with soap and water to eliminate oils, lotions, and debris that prevent proper polish adhesion. Trim your nails to your desired length using sharp nail clippers, cutting straight across and then shaping the corners with your file to prevent splitting and breakage.
File your nails into your chosen shape, always moving in one direction rather than using a sawing motion. This prevents layers of the nail from separating and creating weak points that lead to breaks. Black nail designs look particularly striking with well-defined shapes, so take your time perfecting your preferred style.
Gently push back your cuticles using a cuticle pusher or wooden orange stick. This creates a clean, polished appearance and allows you to paint closer to the cuticle line for professional-looking black nail designs. Never cut your cuticles unless absolutely necessary, as this can lead to infection and damage.
Buff the surface of your nails lightly using a fine-grit buffer to smooth any ridges and create slight texture that helps polish adhere. Be gentle—over-buffing thins and weakens nails. Wipe your nails with rubbing alcohol or nail prep solution to remove all oils, dust, and residue. This final dehydrating step ensures maximum adhesion and longevity for your black nail designs.

Nail Prep Tips for Long-Lasting Black Nail Designs
Black polish shows chips and wear along the edges, making proper preparation and application technique crucial for extended wear. Always apply a quality base coat and allow it to dry completely before adding color. Rushing this step compromises the entire manicure and leads to premature peeling and chipping.
When working with black nail designs, pay special attention to the free edge of your nail. This area experiences the most wear and is where chips typically begin. Make sure to cap the free edge with base coat, each layer of black polish, and top coat. This creates a sealed barrier that significantly extends your manicure’s lifespan.
Consider using a ridge-filling base coat if your nails have noticeable texture or imperfections. While black is generally forgiving, a perfectly smooth surface ensures the most professional appearance for your black nail designs. Some nail artists also recommend applying a thin layer of clear polish before black, which can help prevent any potential staining of the natural nail.
Keep your nails at a practical length that suits your lifestyle. While dramatic long black nails look stunning, they’re more prone to catching on objects and breaking. Choose a length you can maintain comfortably to prevent damage to your black nail designs.
Popular Black Nail Designs for Every Occasion
The versatility of black nail designs makes them suitable for literally any setting, mood, or event. Whether you prefer minimalist sophistication or bold artistic statements, black provides the perfect foundation for countless creative possibilities.
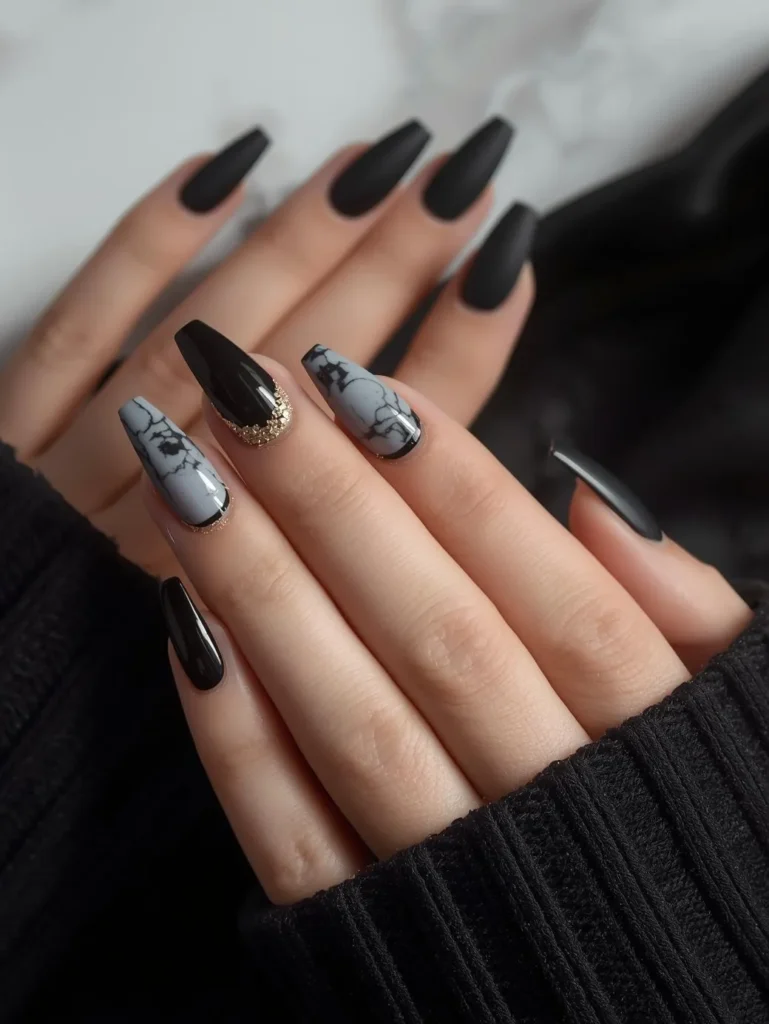
Classic solid glossy black nail designs offer timeless elegance appropriate for professional settings and formal events. The high-shine finish looks polished and intentional, requiring no embellishments to make a statement. Matte black nail designs deliver contemporary, edgy vibes perfect for fashion-forward individuals who appreciate modern aesthetics.
Black French manicure variations flip the traditional white-tipped look with black tips on nude or clear bases, or black bases with white, gold, or silver tips. These reversed designs feel fresh and unexpected while maintaining the sophistication of French manicures. Glitter accent nails featuring silver, gold, or holographic sparkle on black bases create perfect balance between bold and refined.
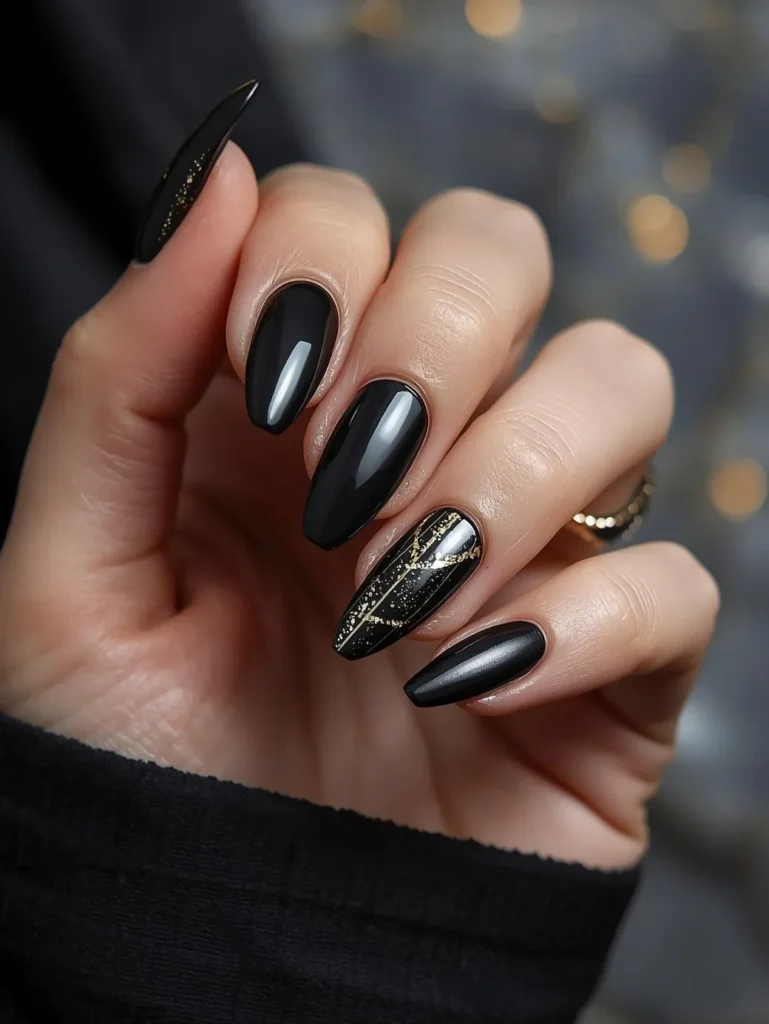
Geometric black nail designs incorporating negative space, clean lines, and minimalist patterns appeal to modern, artistic sensibilities. Metallic accents using gold or silver foil, striping tape, or painted details add luxury and dimension to black nail designs. Ombre and gradient effects blending black into grey, purple, red, or even bright colors create dramatic, eye-catching looks.
Lace-effect black nail designs using stamping or delicate hand-painting evoke gothic romance and vintage elegance. Abstract art featuring splatter effects, marble patterns, or freehand brush strokes transforms black nail designs into wearable art. Celestial themes incorporating stars, moons, or constellation patterns on black bases capture mystical, ethereal aesthetics.
Trending Black Nail Designs
This season’s nail designs embrace both minimalism and maximalism with equal enthusiasm. Micro art featuring tiny detailed designs—miniature flowers, delicate line work, or small symbols—on black bases is incredibly popular for its subtle yet artistic appeal. Negative space designs where the natural nail shows through geometric black patterns create editorial, high-fashion looks.
Chrome and metallic black finishes deliver futuristic vibes with dimensional shine that shifts in different lighting. These reflective black nail designs look particularly striking in evening settings. Mixed texture designs combining glossy, matte, and glitter black on different nails create dynamic, multi-dimensional manicures.
Minimalist single-line designs featuring one thin gold, silver, or white line on solid black nails offer understated sophistication. Abstract faces and artistic illustrations hand-painted on black bases appeal to creative individuals seeking unique, conversation-starting nail designs. Color-pop accents featuring one bright neon or pastel accent nail among otherwise black nails create bold, unexpected contrasts.
Chain and hardware-inspired designs using silver studs, metallic details, or printed chain patterns on black nail designs channel edgy, punk-rock aesthetics. Velvet and textured finishes using specialized top coats add tactile interest to black manicures, creating luxurious, touchable surfaces.
Step-by-Step Guide to Create Black Nail Designs
Creating beautiful nail designs at home is straightforward with proper technique and attention to detail. Follow this comprehensive guide for professional-quality results that last.
Start with completely prepped nails—clean, shaped, buffed, and dehydrated. Apply a thin, even layer of base coat to all ten nails, making sure to cap the free edge of each nail. Allow the base coat to dry completely, typically one to two minutes. Proper drying time prevents smudging and ensures each layer adheres correctly.
Once your base is dry, apply your first coat of black polish. Black typically offers excellent coverage, but thin coats still deliver the best results. Load your brush with enough polish to cover the nail in smooth strokes, but avoid overloading. Start with a stripe down the center of the nail, then fill in each side with even, controlled movements. Work carefully around the cuticle line, leaving a tiny gap rather than flooding the area.
Allow your first coat to dry for two to three minutes. While black often provides good coverage in one coat, a second thin coat ensures deep, even color and eliminates any streaks or thin spots. Apply your second coat using the same technique, building rich, saturated color gradually.
Once your base color is completely dry—wait at least five minutes to be safe—you can add design elements. For simple accent nails, apply glitter, metallic polish, or rhinestones to selected nails. For patterns, use detail brushes, stamping plates, striping tape, or stickers according to your chosen design. Work methodically, allowing each element to dry before adding the next to prevent smudging.
Finish by sealing everything with a generous layer of top coat, making absolutely sure to cap the free edge. For glossy black nail designs, use a high-shine top coat. For contemporary matte looks, apply a matte top coat after your glossy top coat has dried. This protective layer prevents chipping, adds dimension, and extends the life of your black nail designs dramatically. Allow your complete manicure to dry for fifteen to twenty minutes before engaging in any activities.
Easy and Stylish Black Nail Designs for Beginners
Starting your journey with black nail designs doesn’t require advanced skills or artistic ability. These four beginner-friendly ideas deliver impressive results with minimal effort and basic supplies.
Classic Glossy Black with Gold Accent: Apply glossy black polish to all nails. Once completely dry, paint your ring finger on each hand with gold glitter or metallic polish. This simple design looks intentional and elevated while requiring no artistic techniques beyond basic polish application.
Matte Black with Single Rhinestone: Paint all nails with glossy black, allow to dry, then apply matte top coat. While the matte top coat is still slightly tacky, carefully place a single clear or silver rhinestone at the base of each ring finger nail. The contrast between matte black and sparkling stone creates understated elegance.
Black with White Polka Dots: Apply black polish to all nails and allow to dry completely. Use a dotting tool dipped in white polish to create three to five evenly spaced dots on each nail. This classic pattern looks clean and intentional while being incredibly easy to execute.
Black French Tips on Nude Base: Apply a nude or pale pink base to all nails. Once dry, use French tip guides or freehand technique to paint black tips instead of traditional white. This reversed French manicure feels modern and edgy while maintaining sophisticated appeal.
Tips for Perfect Black Nail Designs
Achieving flawless black nail designs requires understanding how to work with dark polish effectively. These professional tips help you avoid common mistakes and create consistently beautiful results.
Black polish, while forgiving of minor imperfections, can show brush strokes if applied too thickly. The key is using thin to medium coats that flow smoothly across the nail. If your black polish has become thick or difficult to work with, add a drop or two of nail polish thinner (never regular remover) to restore its ideal consistency.
Work in excellent lighting when creating black nail designs. While it might seem unnecessary for dark polish, good lighting helps you see exactly where you’re applying polish and catch any missed spots or uneven areas. Natural daylight is ideal, but bright LED lighting works well for evening sessions.
Black polish on skin or cuticles is highly visible and looks messy, so precise application is important. Work slowly around the cuticle area, and keep a cleanup brush dipped in acetone nearby for immediate correction. Some nail artists apply liquid latex or petroleum jelly around the nail before polishing, making cleanup effortless.
For the longest-lasting black nail designs, avoid hot water and harsh chemicals for at least one hour after completion. The polish continues curing even after it feels dry to the touch, and exposure to heat or chemicals during this period can cause premature wear and damage.
Aftercare & Maintenance for Black Nail Designs
Black nail designs require proper aftercare to maintain their bold, beautiful appearance and prevent chipping or dulling. While black is relatively low-maintenance compared to lighter colors, following these guidelines ensures maximum longevity.
Immediately after completing your black nail designs, treat them gently while they fully cure. Avoid immersing your hands in water, using harsh cleaning products, or engaging in activities that put pressure on your nails for at least one to two hours. This patience pays off with significantly longer-lasting manicures.
Moisturize your hands and cuticles daily with quality hand cream and cuticle oil. Healthy, hydrated nails are more flexible and resistant to chipping and breaking. Apply these products to your skin and cuticle area rather than directly on the polished nail surface, as oils can break down top coat over time.
Protect your black nail designs by wearing gloves during household chores, particularly when washing dishes, cleaning, or gardening. Water exposure and harsh chemicals are the primary culprits behind chipped and damaged manicures. This simple habit can extend your black nail designs’ lifespan by a week or more.
Reapply top coat every two to three days to refresh shine (for glossy finishes) or reinforce protection (for matte finishes). This adds new protective layers and helps prevent any minor wear from developing into visible chips. Keep your top coat brush clean for smooth, even application.
If you notice a small chip in your black nail designs, you can often touch it up rather than removing the entire manicure. Carefully apply a tiny amount of black polish to the affected area, blend the edges, and reseal with top coat. For larger damage, consider transforming that nail into an accent nail with glitter or metallic polish.
Store your black polish in a cool, dark place to prevent it from thickening or losing its smooth application properties. Roll the bottle between your palms before each use rather than shaking it, which creates air bubbles that mar the finish of your black nail designs.
FAQ – Black Nail Designs
What are the easiest Black Nail Designs for beginners?
The easiest black nail designs for beginners include simple solid black nails in either glossy or matte finish, black with one or two gold or silver glitter accent nails, basic white polka dots on black using a dotting tool, and reversed French manicures with black tips on nude bases. These designs require only basic polish application skills and minimal tools, yet deliver polished, intentional-looking results. Start with these simpler black nail designs to build confidence and technique before attempting more complex patterns, detailed artwork, or intricate embellishments.
How can I make my Black Nail Designs last longer?
To make your black nail designs last longer without chipping or losing their depth of color, always start with thorough nail preparation including proper cleaning and buffing. Apply a quality base coat and allow complete drying before adding black polish. Use thin coats of black polish rather than one thick coat, and always cap the free edge with every layer including base coat, color coats, and top coat. Wear gloves during cleaning and water exposure, and reapply top coat every few days to maintain protection and shine. With proper care and maintenance, your black nail designs can easily last two to three weeks while looking freshly applied.
Which styles of black nails are trending this season?
Current trending black nail designs include minimalist micro art featuring tiny detailed illustrations on black bases, negative space geometric patterns where natural nail shows through strategic cutouts, chrome and metallic black finishes for dimensional shine, and mixed texture manicures combining glossy, matte, and glitter blacks on different nails. Abstract artistic designs with freehand brush strokes, celestial patterns featuring gold stars and moons, and color-pop accents with single bright neon nails among black are also extremely popular. The trend emphasizes both ultra-minimalist sophistication and bold artistic expression in black nail designs.
Can I create professional-looking Black Nail Designs at home?
Absolutely! Creating professional-looking black nail designs at home is very achievable with proper supplies and techniques. Black polish is actually one of the most forgiving colors to work with since it hides minor imperfections better than lighter shades. Invest in quality black polish with good pigmentation, proper brushes for detail work, and both glossy and matte top coats for versatility. Practice proper application techniques including thin coats, adequate drying time, and edge capping. Watch tutorial videos, practice regularly, and don’t be discouraged by initial attempts. Many professional nail artists specializing in black nail designs started by practicing at home.
Do black nails stain natural nails?
Black polish can occasionally leave a slight yellowish or grey shadow on natural nails if applied without proper base coat, but this is easily preventable and not permanent. Always apply a quality base coat before any black nail designs to create a protective barrier between your natural nail and the dark pigment. The staining, if it occurs, is superficial and will grow out naturally or can be buffed away gently. Some nail artists recommend using a white or nude base coat under black polish for extra protection, though a standard clear base coat is typically sufficient to prevent any staining issues with black nail designs.
Conclusion
Black nail designs represent the perfect fusion of boldness, versatility, and timeless style. From sleek glossy finishes that exude sophistication to edgy matte looks that make powerful statements, black nails adapt to every personality, occasion, and fashion preference. The enduring popularity of black in nail art proves that this color is far more than just a trend—it’s a staple that belongs in every nail enthusiast’s repertoire.
The beauty of black nail designs lies in their incredible range. You can keep them beautifully simple with solid black for understated elegance, or transform them into elaborate works of art with metallic accents, sparkling embellishments, or intricate patterns. Black serves as the perfect canvas for creativity while remaining inherently chic even without any adornment. Whether you’re expressing your artistic side, making a fashion statement, or simply appreciating classic style, black nail designs deliver.
Don’t hesitate to experiment with the countless possibilities black offers. Try different finishes—glossy for classic shine, matte for contemporary edge, or chrome for futuristic dimension. Add unexpected pops of color, delicate gold details, or dramatic rhinestones. Mix textures and patterns to create unique combinations that reflect your personal style. With proper tools, thorough preparation, and the tips outlined in this guide, you can create stunning black nail designs at home that rival any professional salon. Embrace the power, elegance, and versatility of black, and let your nails make the bold, beautiful statement you deserve!