
🎃Black Halloween Nails – Spooky, Chic & Trendy Designs
Get ready to embrace the spooky season in style with stunning Black Halloween Nails! As Halloween approaches, there’s no better way to showcase your festive spirit than with a hauntingly beautiful manicure. Black is the ultimate Halloween color—it’s mysterious, versatile, and pairs perfectly with everything from cute and playful designs to seriously spooky nail art.
Black Halloween Nails offer endless possibilities for creativity. Whether you’re attending costume parties, trick-or-treating with the kids, or simply celebrating the season, black nails provide the perfect canvas for your Halloween imagination. The best part? Black works with any style—from elegant and sophisticated to bold and frightening.
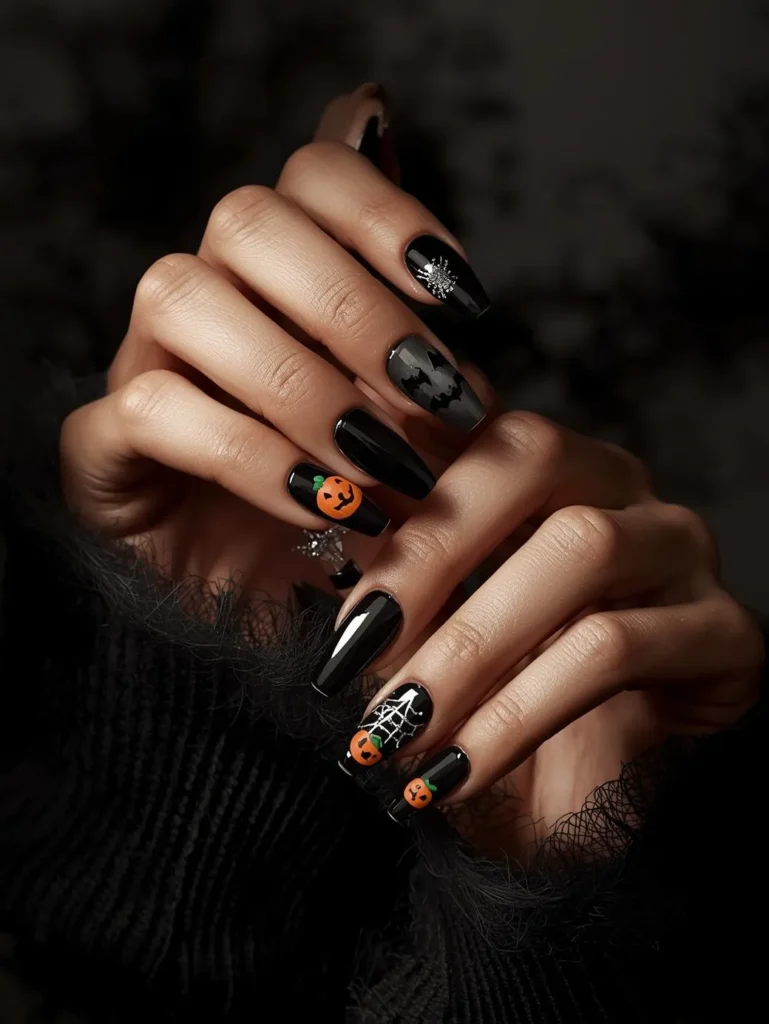
What makes Black Halloween Nails so special is their incredible versatility. You can go full goth with matte black polish, add sparkle with glitter accents, create intricate spider webs, or stick adorable pumpkin and ghost decals. Black complements every other Halloween color beautifully—orange, purple, green, and metallic silver all pop against a dark background.
In this guide, we’ll show you how to create show-stopping Black Halloween Nails that will have everyone asking where you got your manicure done. From essential tools to trending designs and easy tutorials, you’ll have everything you need to rock the spookiest nails this Halloween season!
Table of Contents

Tools You’ll Need for Black Halloween Nails
Creating fabulous Black Halloween Nails doesn’t require a professional salon setup. With just a few essential supplies and some creative accessories, you can achieve spooky-chic results right at home. Start with the basics and add fun Halloween-themed extras to take your nail art to the next level.
The key to successful Halloween nail art is having the right tools on hand before you start. This way, you won’t have to interrupt your creative flow searching for supplies. Most of these items are affordable and reusable for future manicures beyond Halloween.
Basic Nail Tools
Every great manicure starts with proper tools. A quality nail file and buffer are essential for shaping your nails and creating a smooth surface. For Black Halloween Nails, well-prepped nails make all the difference in how professional your finished look appears.
Cuticle care tools including a pusher and nippers help create a clean nail bed that makes your design stand out. Well-groomed cuticles are especially important for Halloween designs because you want all the focus on your spooky art, not messy nail beds.
Base coat is absolutely crucial for protecting your natural nails from staining—black polish can be particularly stubborn! It also helps your polish adhere better and last longer throughout all your Halloween festivities. Similarly, a good top coat seals your design, adds gorgeous shine, and prevents chips and scratches.
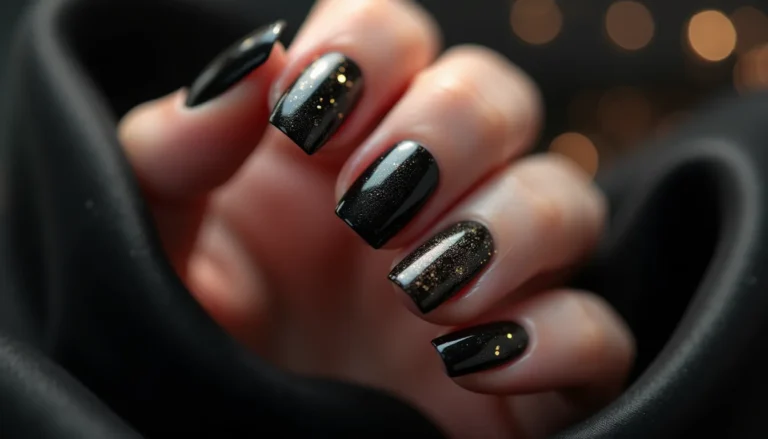
Black nail polish is obviously your star player for Black Halloween Nails. Consider having both glossy and matte black finishes available, as each creates a different vibe. Glossy black looks sleek and vampy, while matte black gives off mysterious, gothic vibes perfect for Halloween.
You’ll also want additional colors for accents and details. Orange is a must-have for pumpkins and autumn vibes. White creates stunning contrast for ghost designs and spider webs. Purple, green, and blood red are all classic Halloween shades that pair beautifully with black.
Detail brushes in various sizes let you create precise lines, dots, and intricate patterns. A thin striping brush is perfect for drawing spider webs and delicate details. A dotting tool creates perfect circles for eyes, polka dots, or textured effects.

Fun Accessories for Halloween Nails
This is where the real Halloween magic happens! Accessories transform simple Black Halloween Nails into extraordinary seasonal masterpieces. Halloween-themed nail stickers and decals make creating complex designs incredibly easy. Look for tiny bats, ghosts, pumpkins, spider webs, skulls, and witch hats.
Glitter in orange, purple, silver, or holographic finishes adds festive sparkle to your Black Halloween Nails. Fine glitter creates subtle shimmer, while chunky glitter makes a bold statement. Glow-in-the-dark polish or powder is a game-changer for Halloween nails—imagine your manicure literally glowing at a dark party!
Rhinestones and small gems in orange, purple, or clear create glamorous accents. Tiny skull charms or spider embellishments take your nail art to the next level. Striping tape in metallic colors helps create clean lines for geometric Halloween designs.
Consider picking up some stamping plates with Halloween motifs if you want intricate designs without hand-painting them. These make creating professional-looking spider webs, bats, and other spooky patterns incredibly easy.
Preparing Your Nails for Black Halloween Nails
Proper preparation ensures your Black Halloween Nails look amazing and last through all your Halloween activities. Taking a few extra minutes to prep properly makes a huge difference in the final result and longevity of your manicure.
Start by removing any old polish completely with nail polish remover. Make sure every trace is gone so your black polish can adhere properly. Wash your hands thoroughly with soap and water to remove oils and dirt, then dry completely.
Trim your nails to your desired length if needed. Halloween designs work beautifully on both short and long nails, so choose what’s comfortable and practical for your lifestyle. Shape your nails using a fine-grit file, filing in one direction to prevent splitting. Round, square, or almond shapes all work wonderfully for Black Halloween Nails.
Gently push back your cuticles using a cuticle pusher or orangewood stick. This creates more visible nail space for your design. If you have excess dead skin, carefully trim only that with cuticle nippers. Never cut living cuticle tissue.
Lightly buff the surface of your nails to remove any ridges and create a smooth canvas. Don’t over-buff, as this can weaken your nails. Finally, wipe your nails with rubbing alcohol or nail dehydrator to remove any remaining oils. This crucial step ensures your base coat adheres perfectly.
Nail Prep Tips
Here’s a pro tip for Black Halloween Nails: apply a white or nude base coat before your black polish if you’re worried about staining. This extra layer provides additional protection while helping your black color appear more vibrant and opaque.
Keep your hands moisturized in the days leading up to your Halloween manicure for healthier, stronger nails. However, avoid applying any lotion or oil immediately before painting your Black Halloween Nails, as oils prevent polish from sticking properly.
For the smoothest application, make sure your black polish isn’t too thick. If it’s goopy, add a few drops of polish thinner (never use nail polish remover!) to restore the right consistency.
Trending Black Halloween Nail Designs
Black Halloween Nails are having a major moment this year with some seriously creative and spooky trends. Whether you prefer subtle and sophisticated or bold and frightening, there’s a perfect design waiting for you to try.
Matte black nails with glossy accents create a stunning contrast that’s both modern and mysterious. Paint all your nails with matte black, then add glossy black spider webs, drips, or geometric shapes for a sophisticated Halloween look.
Glitter gradient Black Halloween Nails combine spooky and sparkly. Start with solid black at the base and fade into orange or purple glitter toward the tips. This ombre effect is eye-catching and festive without being overly cutesy.
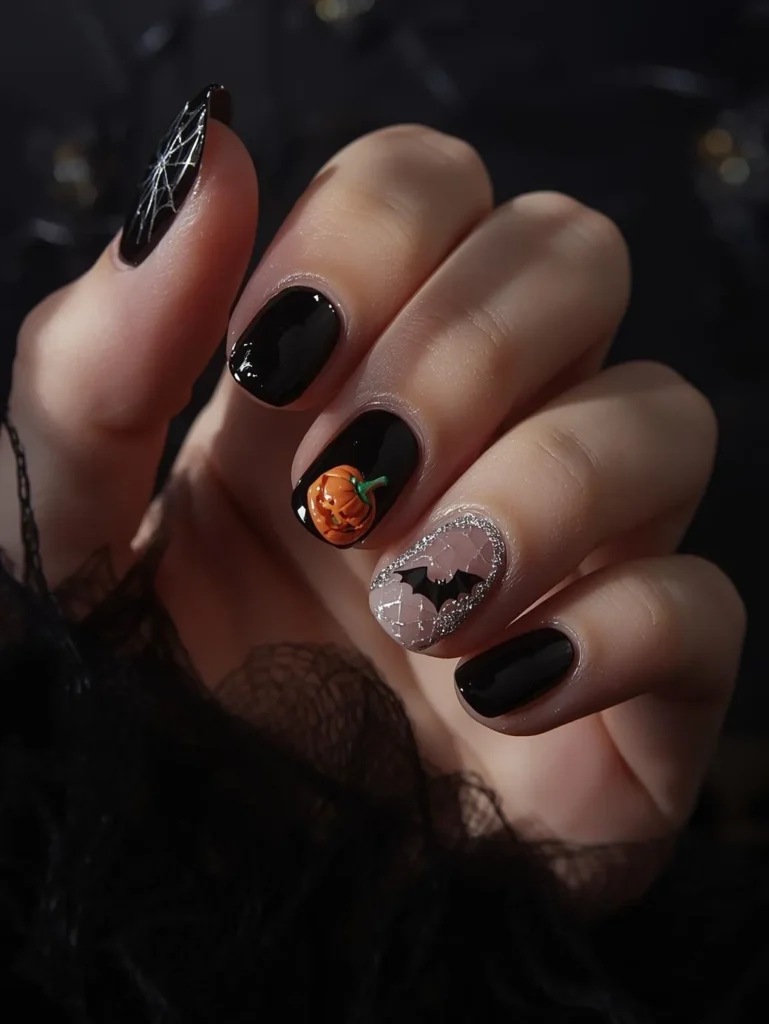
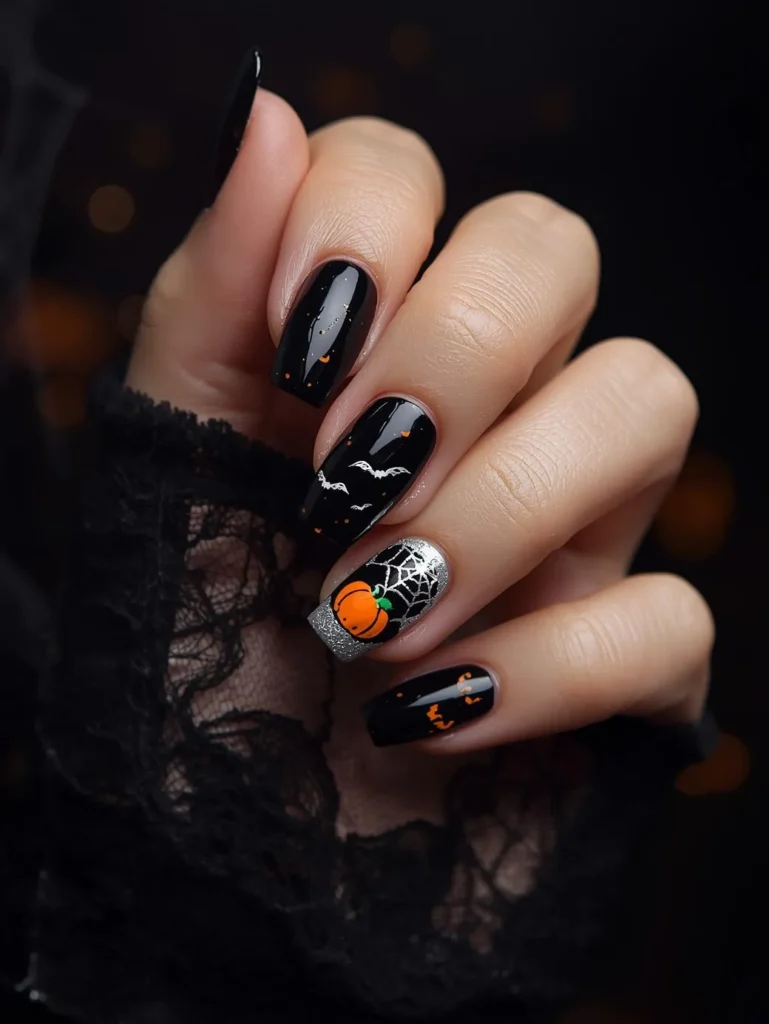
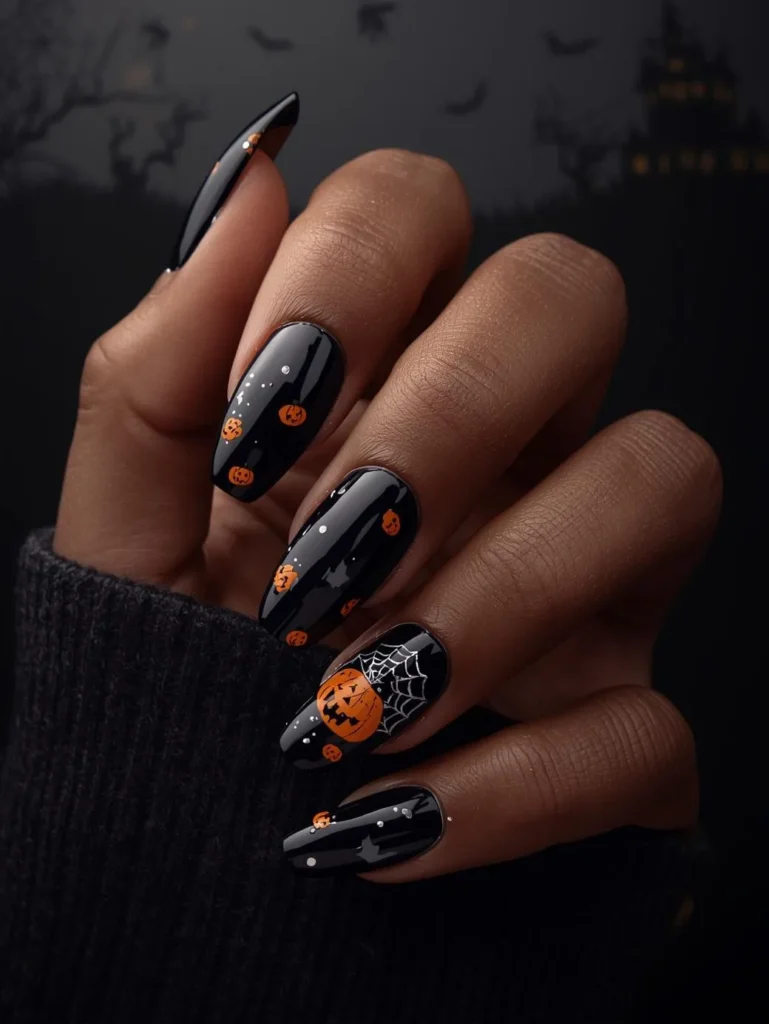
Spider web designs are classic Halloween nail art that never goes out of style. Paint your nails black, then use white or silver polish to carefully draw delicate webs. Add a tiny rhinestone spider for extra detail.
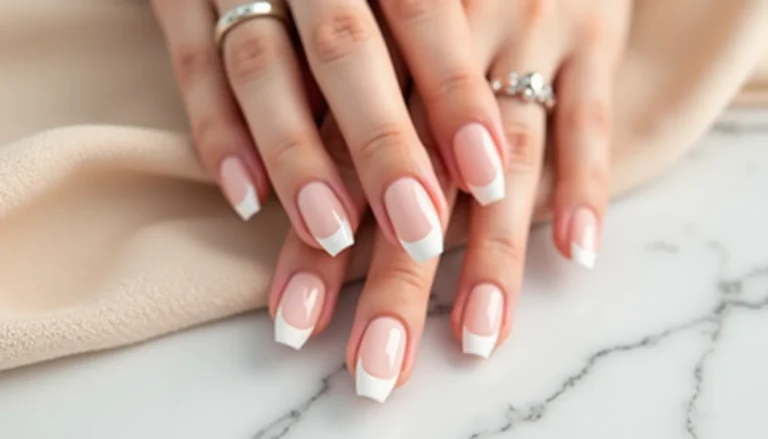
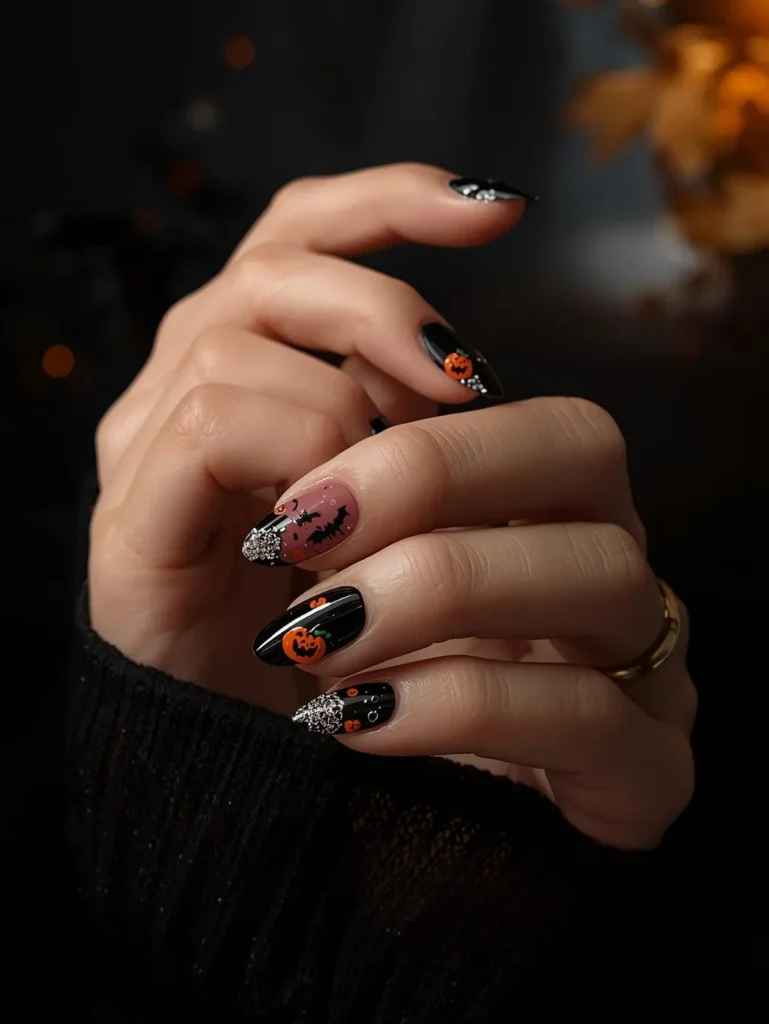
Orange and black combinations are quintessentially Halloween. Try black nails with orange tips for a reverse French manicure, or alternate black and orange nails. Add tiny pumpkin faces or bat silhouettes for extra seasonal flair.
Minimalist Halloween designs appeal to those who want subtle seasonal style. Try all black nails with one accent nail featuring a simple white ghost, single bat silhouette, or tiny orange pumpkin.
Blood drip designs look deliciously creepy on Black Halloween Nails. Paint your nails black, then carefully add red “blood” dripping from the cuticle area down the nail. This effect looks complex but is surprisingly easy to create.
Easy Halloween Nail Art Ideas
Gothic Glam: Paint all nails with glossy black polish. On your ring finger, apply black base, then carefully place small rhinestones in a decorative pattern. Add purple or dark red rhinestones for a pop of color. Seal with glossy top coat for maximum shine.
Friendly Ghost: Apply black polish to all nails. On one or two accent nails, use a dotting tool with white polish to create small ghost shapes—just rounded bodies with tiny tails. Add two small black dots for eyes using a toothpick. These adorable ghosts are perfect for a fun, less-scary Halloween look.
Spooky Silhouettes: Paint nails black and let dry completely. Use a thin brush with orange polish to paint a full moon circle on one nail. Once dry, use black polish to paint bat silhouettes flying across the moon. This creates a stunning Halloween scene on a single nail.
Candy Corn Accent: Paint most nails solid black. On one or two accent nails, create candy corn stripes using white, orange, and yellow polish. Use striping tape to get clean, sharp lines between colors. This sweet and spooky combo is perfect for trick-or-treating!
Step-by-Step Guide to Black Halloween Nails
Creating stunning Black Halloween Nails is easier than you might think. Follow these steps for professional-looking results that last through all your Halloween celebrations.
Step 1: Apply a thin, even layer of base coat to all nails. Make sure to cap the free edge by running the brush along the tip. Let it dry completely—this usually takes about two minutes.
Step 2: Apply your first coat of black polish. Start with a stroke down the center of the nail, then fill in the sides. Keep the coat thin for best results. Don’t worry if the first coat isn’t perfectly opaque—that’s normal with black polish.
Step 3: Once the first coat is dry to the touch, apply a second thin coat of black polish. This should give you full, rich coverage. Again, make sure to cap the free edge. Let this dry completely before adding any designs.
Step 4: Now for the fun part—create your Halloween design! Whether you’re hand-painting spider webs, applying stickers, adding glitter, or placing rhinestones, work carefully and patiently. If you make a mistake, dip a small brush in remover and clean it up before it dries.
Step 5: Once your design is complete and fully dry, apply a generous layer of top coat over all nails. This seals everything, adds shine, and protects your Black Halloween Nails from chips. Make sure to cap the free edges one final time.
Step 6: Allow plenty of drying time before resuming normal activities. Even if the surface feels dry, the layers underneath need time to fully cure. Use quick-dry drops or spray to speed up the process if you’re in a hurry.
Pro Tip: For extra durability during Halloween parties and activities, apply a second layer of top coat after 24 hours. This refreshes the shine and adds another protective barrier.
Aftercare & Maintenance
Once you’ve created your perfect Black Halloween Nails, proper care keeps them looking fabulous throughout the entire spooky season. With the right maintenance, your manicure can last through multiple Halloween events and parties.
Wear gloves when washing dishes, cleaning, or doing any activity that involves water or chemicals. These are the biggest enemies of long-lasting manicures. Taking just a few seconds to protect your Black Halloween Nails can extend their life by several days.
Moisturize your hands and cuticles daily with a good hand cream or cuticle oil. Well-hydrated skin around your nails keeps everything looking fresh and prevents painful hangnails. Apply cuticle oil before bed for overnight conditioning.
Avoid using your nails as tools to open packages, scratch off stickers, or pry things open. This stresses your manicure and causes chips and breaks. Use proper tools instead—your Black Halloween Nails will thank you!
If you notice a small chip, fix it immediately before it spreads. Touch up the area with your base color and seal it with top coat. Catching small damage early prevents having to redo your entire manicure.
Reapply top coat every two to three days to maintain shine and protection. This simple step keeps your Black Halloween Nails looking freshly done and prevents chips from forming along the edges.
When you’re ready to remove your Halloween manicure (or when November arrives), do it gently. Soak cotton pads in acetone remover, place them on your nails, wrap with foil, and wait five to ten minutes. The polish will soften and wipe away easily without damaging your natural nails. Follow up with moisturizer to rehydrate your nails and cuticles.
Conclusion
Black Halloween Nails are the perfect way to celebrate the spookiest season of the year with style, creativity, and personality. Whether you choose elegant matte black, sparkly glitter accents, creepy spider webs, or adorable pumpkin designs, black provides the ideal canvas for showcasing your Halloween spirit.
The beauty of Black Halloween Nails lies in their versatility—they work for any occasion, from costume parties to casual Halloween movie marathons at home. You can keep things simple and sophisticated or go all out with elaborate designs and embellishments. There’s no wrong way to rock black nails this Halloween!
Don’t be intimidated if you’re new to nail art. Start with simple designs like solid black with one accent nail, then gradually work your way up to more complex creations as you gain confidence. Remember, every nail artist started as a beginner, and practice makes perfect.
Now it’s your turn to get creative! Gather your supplies, choose your favorite design inspiration, and create your own stunning Black Halloween Nails. Don’t forget to show off your spooky manicure at all your Halloween events and share your creations on social media to inspire others. Tag your photos with #BlackHalloweenNails to connect with other nail art enthusiasts celebrating the season.
Happy Halloween, and may your nails be as fabulous as your costume! 🎃👻🖤