Stylish Nail Designs for Short Nails – Perfect for Everyday Glam
If you’ve ever thought that stunning nail art is only for long nails, it’s time to think again! Nail Designs for Short Nails have become one of the hottest beauty trends, proving that you don’t need lengthy talons to create gorgeous, head-turning manicures. In fact, short nails offer unique advantages that make them perfect for modern lifestyles—they’re practical, comfortable, and surprisingly versatile when it comes to creative designs.
Short nails are having a major moment in the beauty world, and for excellent reasons. They’re functional for everyday activities like typing, cooking, and exercising, yet they can still look incredibly chic and sophisticated. The best part? Nail Designs for Short Nails allow you to experiment with bold colors, intricate patterns, and trendy techniques without your nails looking overwhelming or impractical.
In this comprehensive guide, we’ll walk you through everything you need to know about creating beautiful Nail Designs for Short Nails. From essential tools and preparation techniques to trending styles and easy-to-follow tutorials, you’ll have all the knowledge you need to rock stunning short nails with confidence.
Table of Contents
Essential Tools for Nail Designs for Short Nails
Creating gorgeous Nail Designs for Short Nails doesn’t require an overwhelming collection of supplies or a professional setup. With just a handful of quality tools and materials, you can achieve salon-worthy results right in the comfort of your own home. The secret is focusing on versatile essentials that work across multiple design styles.
Starting with the basics allows you to build your skills and confidence before investing in specialty items. As you discover your favorite techniques and styles, you can gradually expand your collection. Remember, quality matters more than quantity when it comes to nail art supplies.
Basic Tools for Short Nail Designs
Every successful manicure begins with proper preparation and application tools. A quality nail file is absolutely essential for shaping your nails and smoothing rough edges. For Nail Designs for Short Nails, choose a fine-grit file (180-240 grit) to prevent damage, splitting, and unnecessary weakening of the nail edge.
A nail buffer creates a smooth, even surface that helps polish adhere better and appear more professional. Buffing also removes ridges and imperfections that might show through your polish. Just remember not to over-buff, as this can thin and weaken your nails over time.
Cuticle care tools are particularly crucial for short nails because well-groomed cuticles make nails appear longer and more polished. Invest in a good cuticle pusher to gently push back the cuticle line and precision nippers for removing only dead skin and hangnails—never cut living tissue.
Base coat is your secret weapon for protecting natural nails and ensuring your Nail Designs for Short Nails last as long as possible. It creates a barrier against staining and provides a tacky surface that helps color polish grip better. Similarly, top coat is non-negotiable for sealing your design, adding glossy shine, and preventing chips.
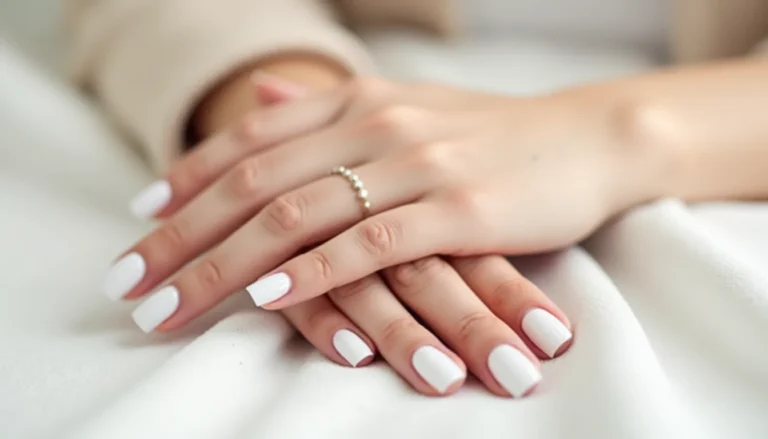
Build a versatile polish collection with colors that suit various occasions and moods. Include neutral shades like nude, soft pink, and beige for classic everyday looks. Add statement colors like red, burgundy, or navy for special occasions. Don’t forget white and black—these are incredibly useful for creating contrast and intricate designs on short nails.
Detail brushes in various sizes give you control over precise lines, patterns, and artistic details. A thin striping brush is perfect for creating delicate lines, while a small round brush handles dots and details. A dotting tool (or even a bobby pin in a pinch) creates perfect circles in multiple sizes for polka dot designs.

Accessories to Elevate Short Nail Designs
Once you’ve mastered basic application techniques, accessories can transform simple Nail Designs for Short Nails into stunning works of art. Nail stickers and decals offer instant sophistication without requiring advanced artistic skills. These adhesive designs range from delicate florals to bold geometric patterns and apply easily for professional-looking results.
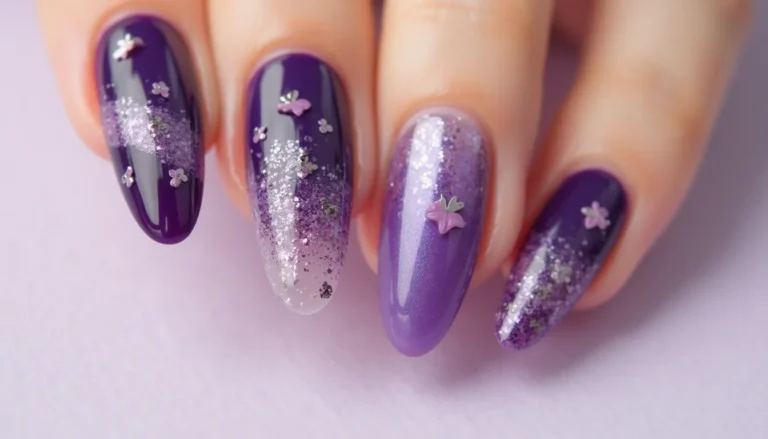
Glitter adds sparkle and dimension that looks particularly stunning on short nails. Fine glitter creates subtle shimmer perfect for everyday wear, while chunky glitter makes a bold statement for special occasions. You can sprinkle glitter over wet polish, mix it into clear polish, or apply it strategically as an accent nail.
Rhinestones and tiny gems create glamorous Nail Designs for Short Nails that are perfect for parties and celebrations. On shorter nail lengths, a few well-placed stones look elegant and intentional rather than excessive. Use specialized nail glue or a thick layer of top coat to secure them firmly.
Striping tape provides an easy shortcut for creating clean, professional-looking lines and geometric patterns. This thin, flexible tape comes in various metallic colors and can be applied over dry polish to add instant visual interest. Nail foils offer metallic, chrome, or holographic finishes that catch light beautifully and add contemporary flair to your manicure.
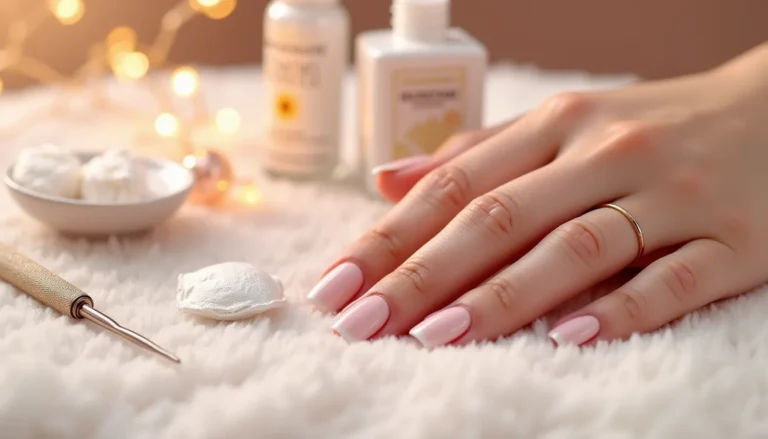
Preparing Your Nails for Short Nail Designs
Proper preparation is the foundation of beautiful, long-lasting Nail Designs for Short Nails. Skipping preparation steps might save a few minutes initially, but you’ll pay for it when your polish chips or peels prematurely. Think of nail prep as creating the perfect canvas for your artwork—everything that follows depends on this crucial step.
Start by removing any existing polish completely using quality nail polish remover. Acetone-based removers work faster and more effectively, though non-acetone formulas are gentler if you have sensitive or dry nails. Make sure every trace of old polish is gone, as residue prevents new polish from adhering properly.
Wash your hands thoroughly with soap and warm water to remove oils, dirt, and product buildup. Dry your hands completely before moving forward. Next, trim your nails to your desired length if needed, though many people find their natural short length is already perfect for stylish designs.
Shape your nails carefully using your fine-grit file. For Nail Designs for Short Nails, round or oval shapes tend to be most flattering and practical. File in one direction rather than sawing back and forth, which can cause splitting and weakness. After shaping, gently buff the surface to create a smooth canvas.
Push back your cuticles gently using a cuticle pusher or wooden stick. This creates more visible nail space, making your short nails appear slightly longer. If you have excess dead skin around the cuticles, carefully trim only that with cuticle nippers. Never cut living cuticle tissue, as this can lead to infection and painful damage.
Finally, clean your nail surface with rubbing alcohol or a specialized nail dehydrator. This crucial step removes any remaining oils that could prevent polish from adhering properly. Your nails should feel completely clean and dry before you apply base coat.

Nail Prep Tips for Long-Lasting Designs
Here’s a professional secret that many people overlook: applying a thin layer of base coat and allowing it to dry completely makes an enormous difference in how long your Nail Designs for Short Nails last. The base coat bonds to your natural nail and provides the perfect foundation for colored polish.
For even better adhesion, very lightly buff your nail surface before applying base coat. This creates microscopic texture that helps the base coat grip better. However, don’t overdo this step—excessive buffing thins and weakens nails.
Keep your hands and cuticles well-moisturized between manicures for healthier nails and better-looking designs. However, avoid applying any lotion or cuticle oil immediately before painting your Nail Designs for Short Nails, as oils prevent polish from adhering properly.
Choosing the Right Nail Designs for Short Nails
With countless design options available, selecting the perfect style for your short nails can feel overwhelming at first. The key is considering your personal style, lifestyle needs, and the occasion. Short nails actually work beautifully with almost any design—you just need to find what resonates with you.
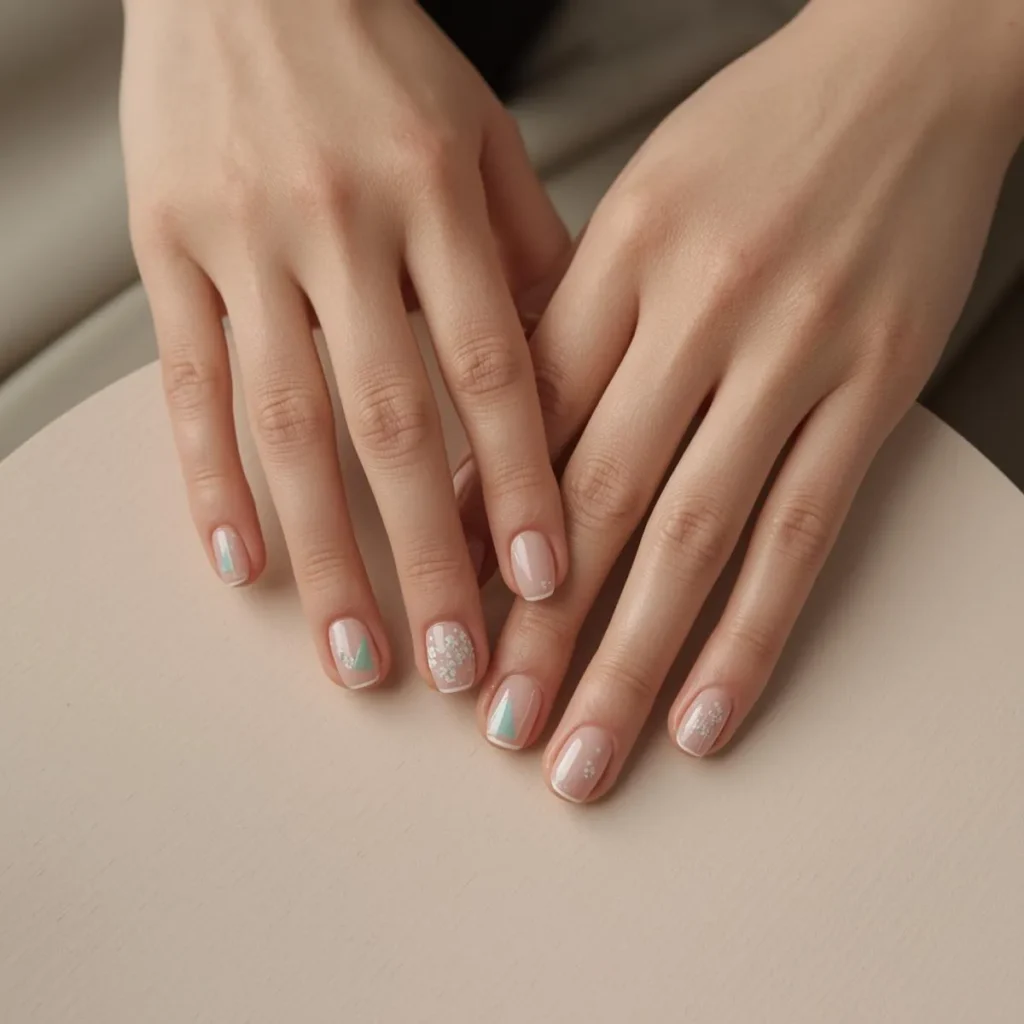
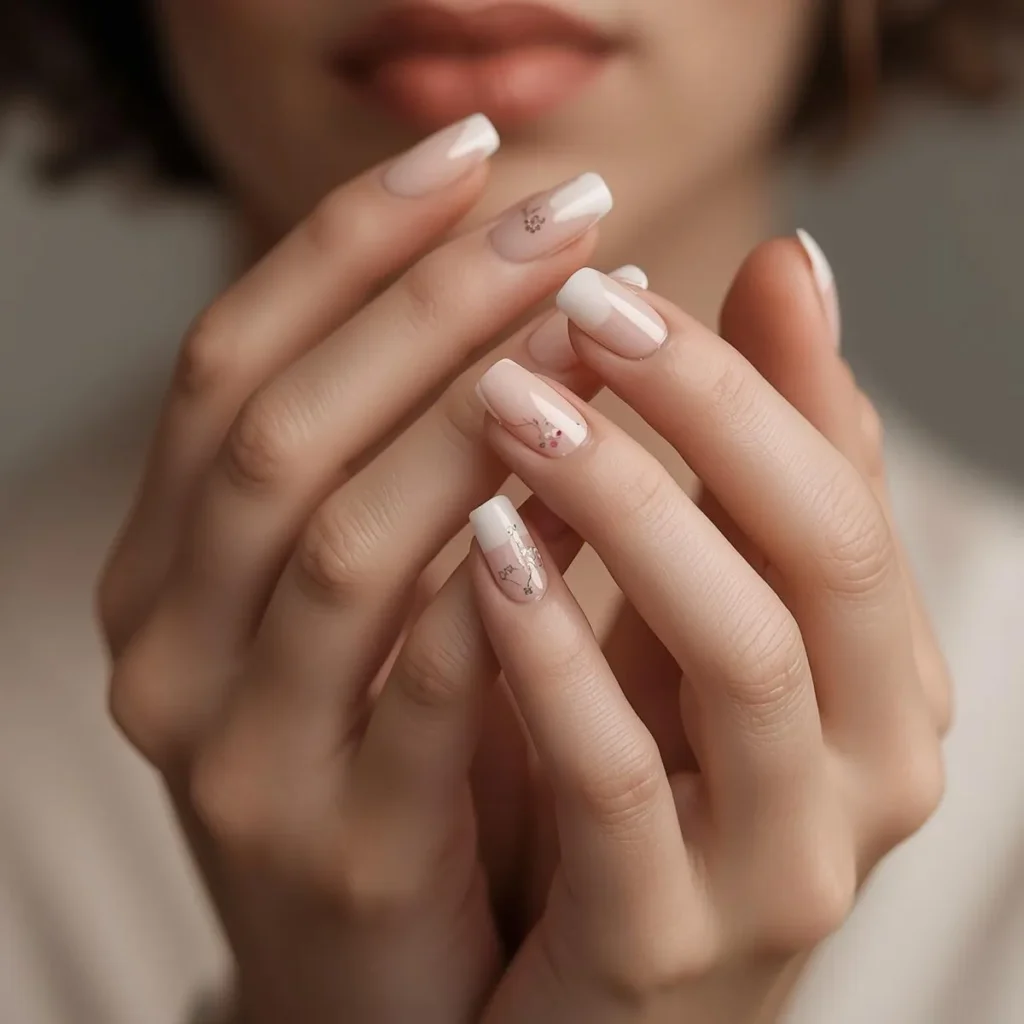
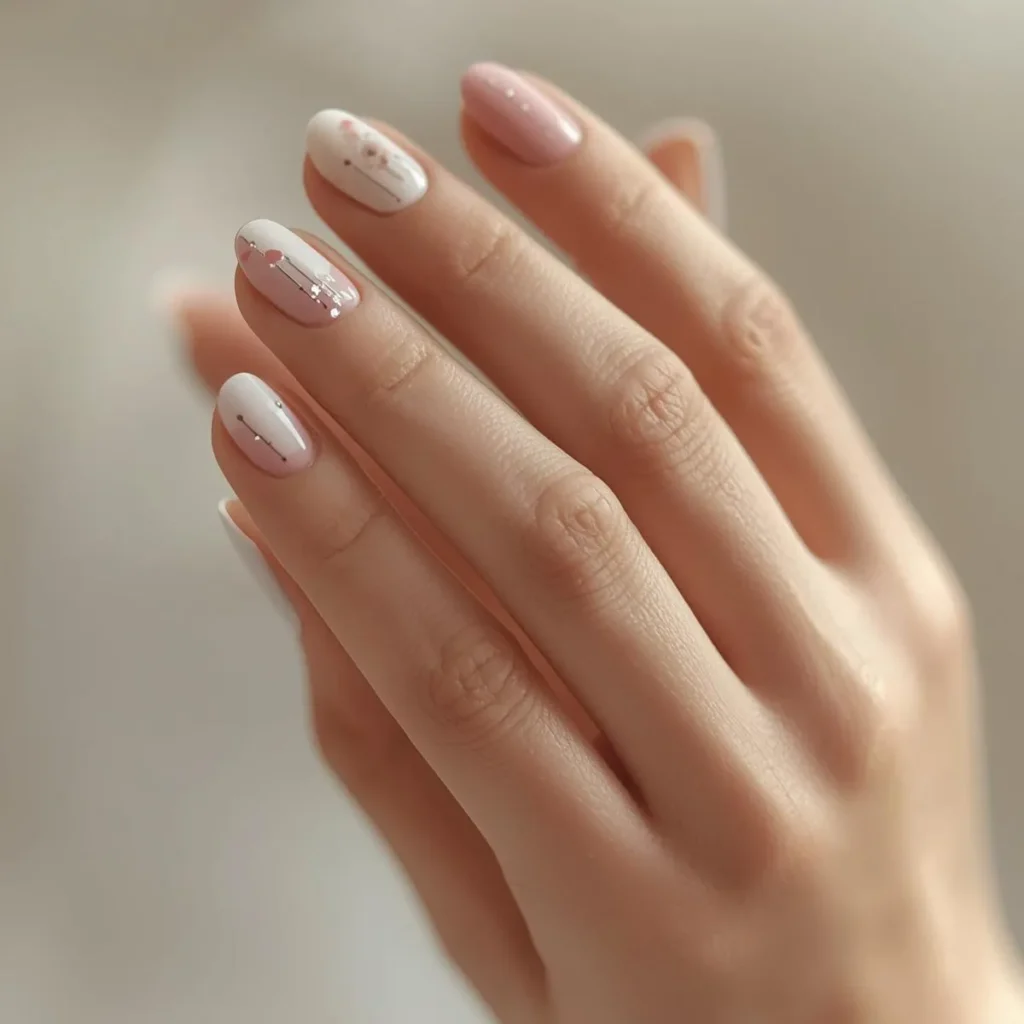
Minimalist designs are incredibly popular for Nail Designs for Short Nails because they look sophisticated and modern. Think simple geometric shapes, delicate lines, or tiny accent dots against neutral backgrounds. These understated styles work perfectly for professional environments while still showcasing your creativity.
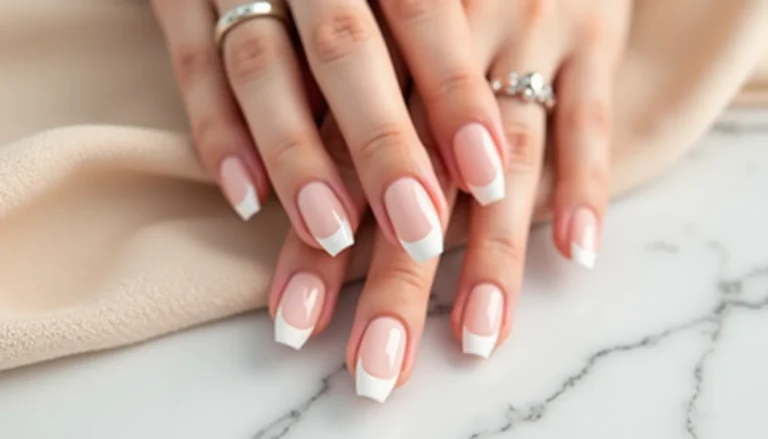
French tips have evolved far beyond the classic white tip style. Modern versions feature colored tips, angled lines, reverse French designs, or multiple accent colors. This timeless look is especially flattering on short nails because it creates the illusion of length.
Geometric patterns including stripes, triangles, and abstract shapes look stunning on short nails. The smaller canvas actually makes these designs appear crisper and more intentional. Bold colors combined with clean lines create contemporary Nail Designs for Short Nails that make a statement.
Glitter and shimmer designs add glamour without requiring artistic skill. You can paint all nails with glitter polish, create an ombre glitter gradient, or use glitter as an accent on one or two nails. On short nails, even full-coverage glitter looks elegant rather than over-the-top.
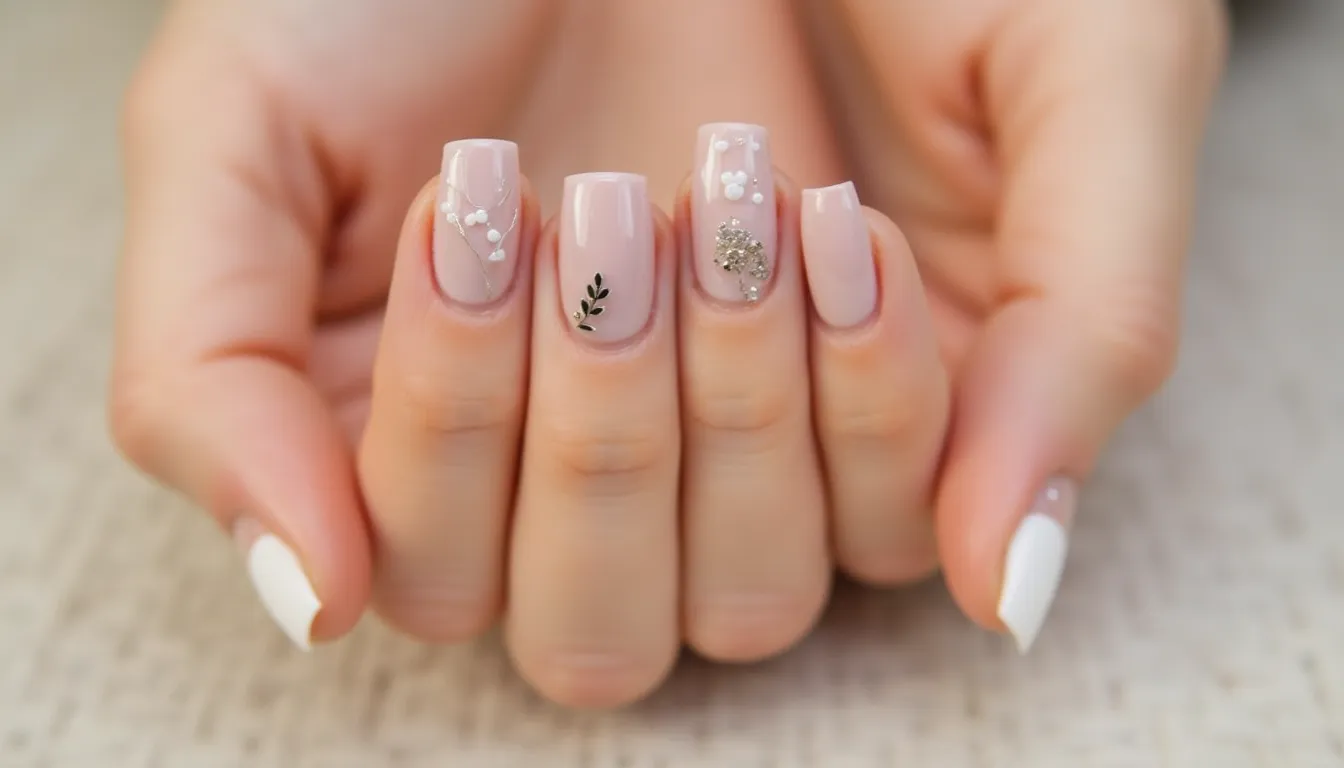
Floral designs remain eternally popular and adapt beautifully to shorter lengths. Small, delicate flowers look sweet and feminine, while bold, abstract florals make a modern statement. You can hand-paint flowers, use stamping plates, or apply floral decals for easy application.
Trending Short Nail Designs
The nail art world constantly evolves, and has brought exciting new trends to Nail Designs for Short Nails. Micro-minimalism has taken center stage, featuring tiny, precise designs like single dots, thin lines, or miniature symbols placed strategically on neutral backgrounds.
Chrome and metallic finishes continue dominating the trend scene. These reflective surfaces look particularly stunning on short nails because they create dimension without requiring length. Chrome powder applied over gel polish or metallic polishes both deliver this futuristic look.
Negative space designs cleverly incorporate your natural nail color into the overall design. This technique creates striking patterns while keeping the look fresh, modern, and perfect for short nails. Abstract art inspired by modern paintings allows maximum creativity with irregular shapes and artistic brushstrokes.
Pastel ombre remains hugely popular, especially for spring and summer. The gradual color transition looks beautiful on short nails and creates a soft, romantic effect. Earth tones and muted colors are also trending for autumn and winter Nail Designs for Short Nails.
Mix-and-match nail art, where each nail features a different complementary design, lets you showcase multiple trends at once. This playful approach works exceptionally well on short nails and allows for maximum creativity and personalization.
Step-by-Step Guide to Nail Designs for Short Nails
Now that you’re prepared and have chosen your design inspiration, it’s time to create stunning Nail Designs for Short Nails. Follow these detailed steps carefully for the best possible results.
Begin by applying a thin, even layer of base coat to all nails. Start slightly away from the cuticle to avoid flooding, then carefully extend the polish to the edges. Make sure to cap the free edge by running the brush along the nail tip—this seals the edge and prevents premature chipping. Allow the base coat to dry completely before proceeding.
Apply your first coat of color polish using the three-stroke method. Place a small bead of polish on the brush, then paint one stripe down the center of the nail from cuticle to tip. Follow with one stroke on each side to cover the entire nail. Keep the coats thin—multiple thin layers always look better and last longer than one thick coat.
Allow the first color coat to dry completely before applying the second. Most polishes require two coats for full opacity and rich color depth. Again, cap the free edge with each coat to maximize wear time for your Nail Designs for Short Nails.
If you’re adding nail art, wait until your base color is completely dry before starting your design. Use your detail brushes, dotting tools, or accessories to create your chosen pattern. Work carefully and patiently—you can always clean up small mistakes with a thin brush dipped in polish remover.
Once your design is complete and fully dry, seal everything with a generous layer of top coat. This protective layer adds beautiful shine and dramatically extends the life of your Nail Designs for Short Nails. Make sure to cap the free edge one final time to seal all layers together.
Allow your nails adequate time to dry completely before resuming normal activities. Even when the surface feels dry, the layers underneath might still be tacky. Quick-dry drops or spray can significantly speed up this process if you’re in a hurry.
Easy Nail Art Ideas for Beginners
Starting with simple designs builds confidence and helps you develop steady hands and technique. Here are beginner-friendly ideas that look impressive on Nail Designs for Short Nails.
The accent nail technique involves painting all nails one solid color except for one or two feature nails, which you decorate differently. Try adding glitter, a contrasting color, or simple nail stickers to your ring fingers. This creates visual interest without requiring advanced skills.
Simple polka dots are surprisingly easy and look adorable on short nails. Paint your base color and let it dry completely. Then use a dotting tool or the round end of a bobby pin dipped in contrasting polish to add dots. You can create random patterns, organized rows, or even a gradient of dot sizes.
Color blocking uses striping tape to create clean geometric sections in different colors. Apply your base color, let it dry, then place striping tape to section off areas. Paint the exposed sections with contrasting colors, remove the tape while the polish is slightly wet, and seal with top coat.
Half-moon designs highlight the base of your nail with a contrasting color. Use reinforcement stickers (the round kind used for paper) as guides, leaving the half-moon exposed. Paint over the rest of the nail, then carefully remove the sticker to reveal a perfect curved line at the base.

Tips for Perfect Short Nail Designs
Achieving flawless Nail Designs for Short Nails requires patience, practice, and a few professional tricks. These expert tips will help you improve your technique and achieve better results with every manicure.
Always work in excellent lighting so you can see exactly what you’re doing. Natural daylight is ideal, but a bright desk lamp positioned correctly works well too. Steady your working hand by resting your elbow on a stable table and supporting your wrist with your other hand.
Thin coats are always better than thick ones. Apply multiple thin layers and build up color gradually rather than trying to achieve full coverage in one coat. Thick polish takes forever to dry, smudges easily, and often looks bumpy and uneven on short nails.
Clean up polish that gets on your skin before it dries completely. Dip a small detail brush in polish remover and carefully trace around your nail edges. For even cleaner application from the start, apply petroleum jelly or liquid latex barrier around your nails before painting—cleanup becomes significantly easier.
If you struggle with painting your dominant hand, try tackling those nails first while you’re fresh and focused. Your non-dominant hand will likely create messier results initially, but practice genuinely improves this over time.
For faster drying, try the ice water method. Once your Nail Designs for Short Nails are touch-dry on the surface, submerge them in a bowl of ice-cold water for two to three minutes. The cold temperature helps set the polish layers more quickly. Quick-dry top coats and sprays also work wonderfully for speeding up the entire process.
Aftercare & Maintenance for Nail Designs for Short Nails
Creating beautiful Nail Designs for Short Nails is only half the equation—proper aftercare ensures they stay gorgeous for as long as possible. With the right maintenance routine, you can extend your manicure’s lifespan significantly and keep your nails healthy.
Wear protective gloves whenever you wash dishes, clean with chemicals, or do any activity involving prolonged water exposure. Water and harsh cleaning products are among the biggest enemies of long-lasting Nail Designs for Short Nails. Taking just a few seconds to slip on gloves can add several extra days to your manicure’s life.
Moisturize your hands and cuticles daily using a nourishing hand cream. Apply cuticle oil at night before bed to keep the skin around your nails soft and healthy. Well-hydrated nails are stronger, more flexible, and significantly less likely to chip or peel. Healthy cuticles also promote better nail growth.
Avoid using your nails as tools for opening packages, scratching off stickers, or prying things apart. This puts unnecessary stress on your Nail Designs for Short Nails and can cause chips, breaks, or complete polish removal. Use proper tools like scissors or letter openers instead.
If you notice a small chip or imperfection, address it immediately rather than waiting. Small damage spreads quickly and can ruin your entire manicure within a day or two. Touch up small chips with your base color and a fresh layer of top coat to extend your manicure’s life.
Reapply top coat every two to three days to maintain shine and protection. This simple step refreshes your Nail Designs for Short Nails and helps prevent chips from forming along the edges.
When it’s finally time to remove your manicure, do it properly to avoid damaging your natural nails. Soak cotton pads in acetone-based remover, place them on your nails, wrap each finger with aluminum foil, and wait five to ten minutes. The polish will soften considerably and wipe away easily without excessive rubbing that damages the nail surface.
Conclusion
Beautiful Nail Designs for Short Nails are absolutely achievable for everyone, regardless of your skill level, budget, or artistic ability. With the right tools, proper preparation techniques, and a bit of practice, you can create stunning nail art that reflects your personality and makes you feel confident and put-together every single day.
The most important thing is to have fun and express yourself authentically. Nail Designs for Short Nails are all about showcasing your creativity and personal style in a way that fits your everyday life. Whether you prefer understated elegance, bold statements, or trendy seasonal designs, there’s a perfect style waiting for you to discover and make your own.
Now it’s your turn to get creative and celebrate your short nails! Try some of these techniques, experiment with your own unique ideas, and don’t be afraid to step outside your comfort zone. Share your Nail Designs for Short Nails with friends and on social media—you might just inspire someone else to embrace their short nails and start their own nail art journey. Happy painting, and enjoy your gorgeous new manicure!